


Kitchen Renovation, Part 1: Floor (July 2007)
The first part of the kitchen involved removing the cheap, nasty white sheet vinyl that covered the floors when we moved it. The kind of floor covering only a cut-rate contractor could love - it showed dirt like crazy, there were soft spots where the underlayment wasn't properly installed, and was just plain ugly, so out it came to make room for a solid, easy-to-clean, attractive slate floor.
(I should apologize for the quality of some of these pictures - many of them were taken on a batch of film that was obviously mishandled at some point during the processing.)

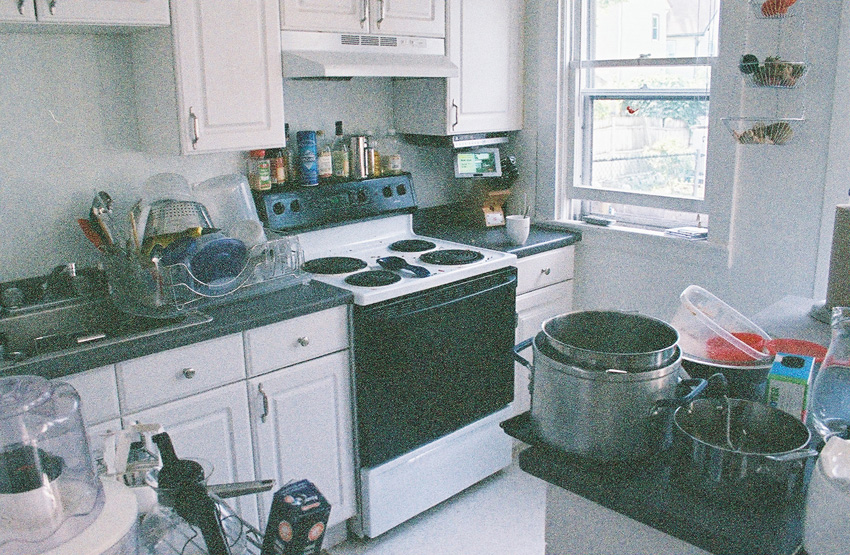
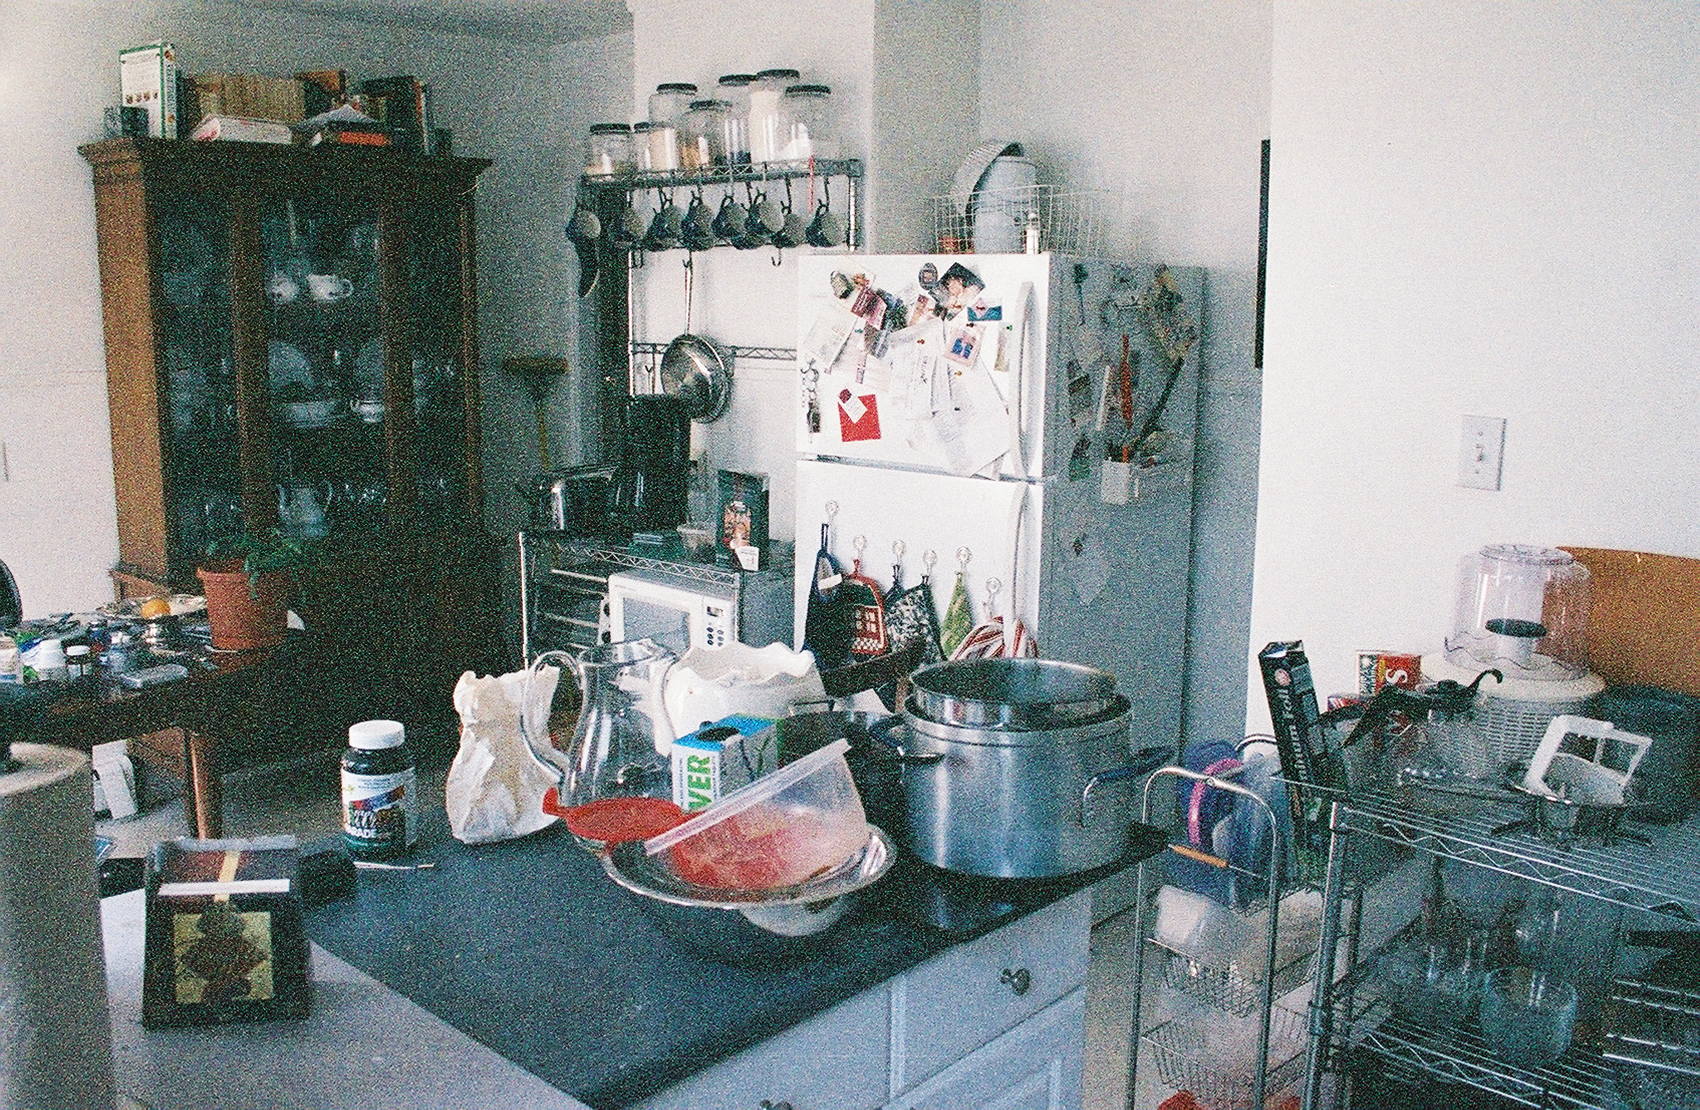
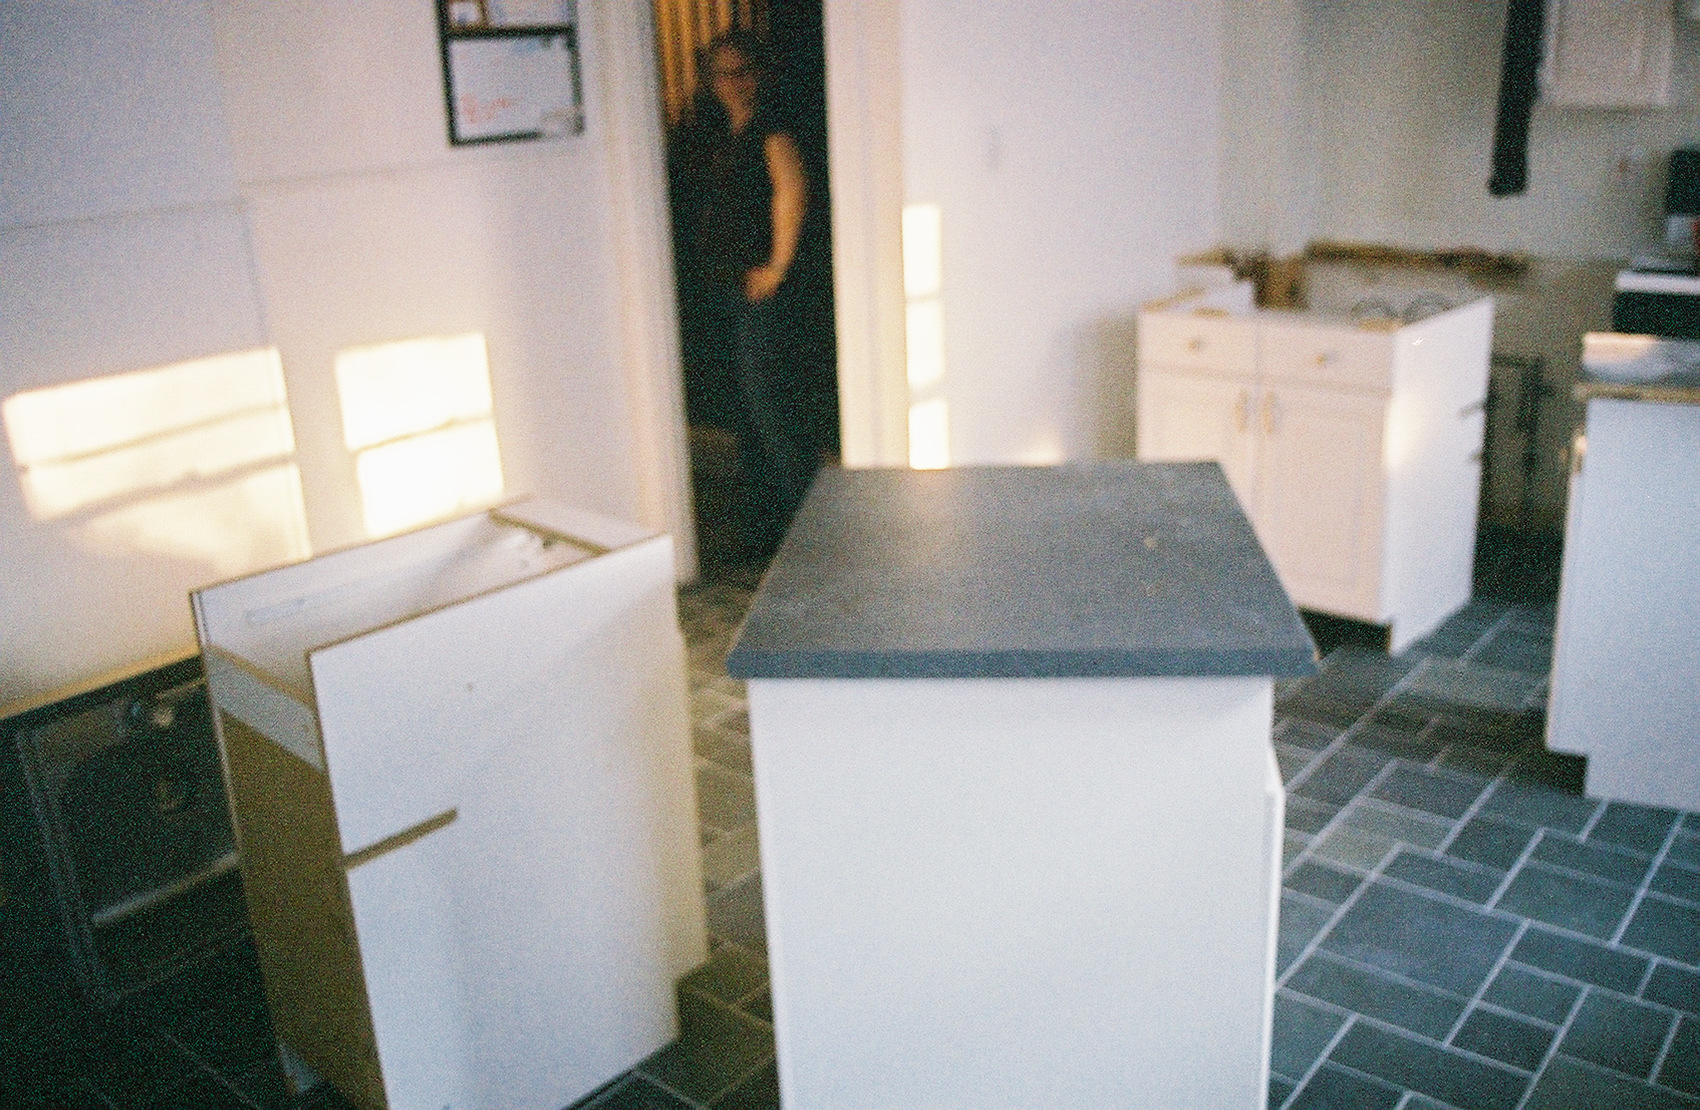
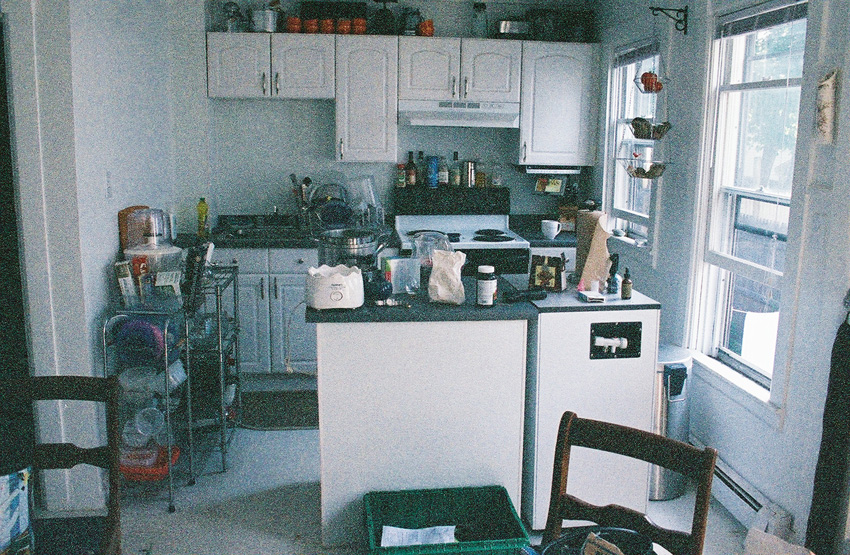 Anyway, in this shot you can see the island smack in the middle of the floor, with the portable dishwasher parked to the right of it. Not a very convenient setup - makes it harder to wheel the dishwasher around to the sink, and results in a lot of dead space and a sort of cramped feeling.

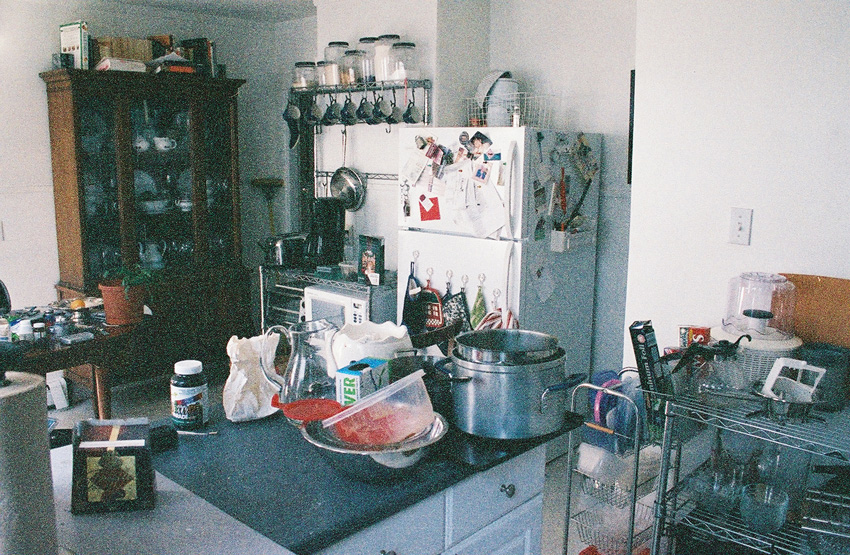
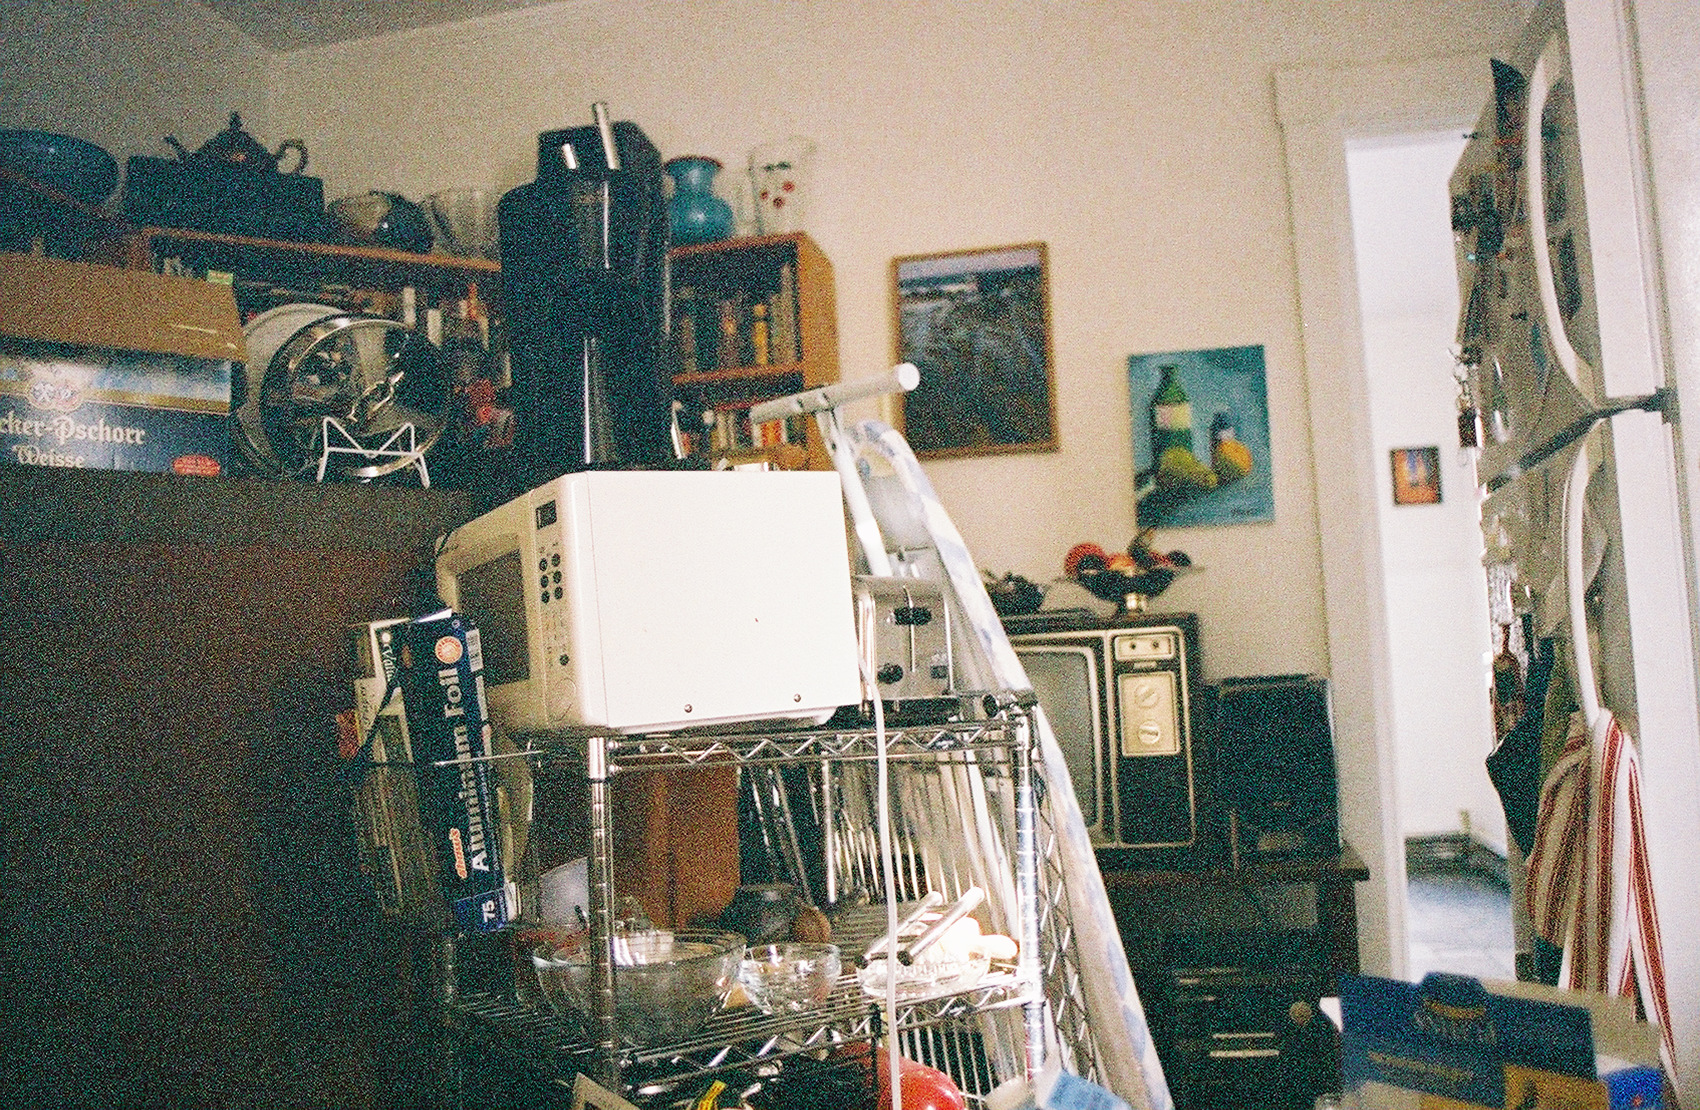
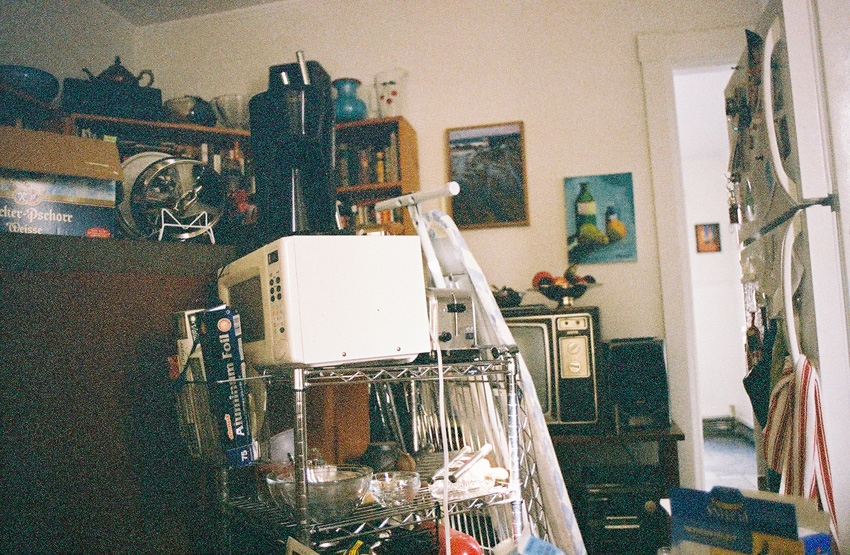 All the stuff from the kitchen had to go somewhere, so... into the living room it goes! Weirdly, I got kinda used to having the fridge, microwave, toaster, etc., in there.

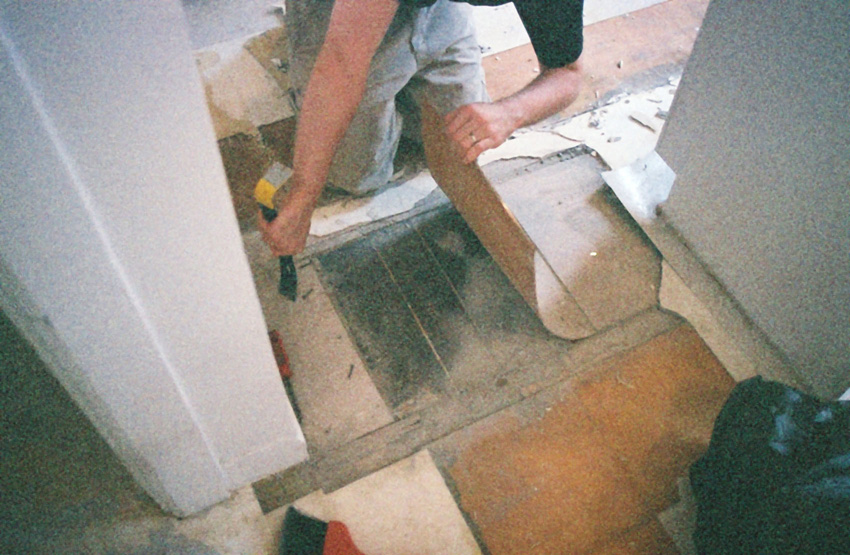
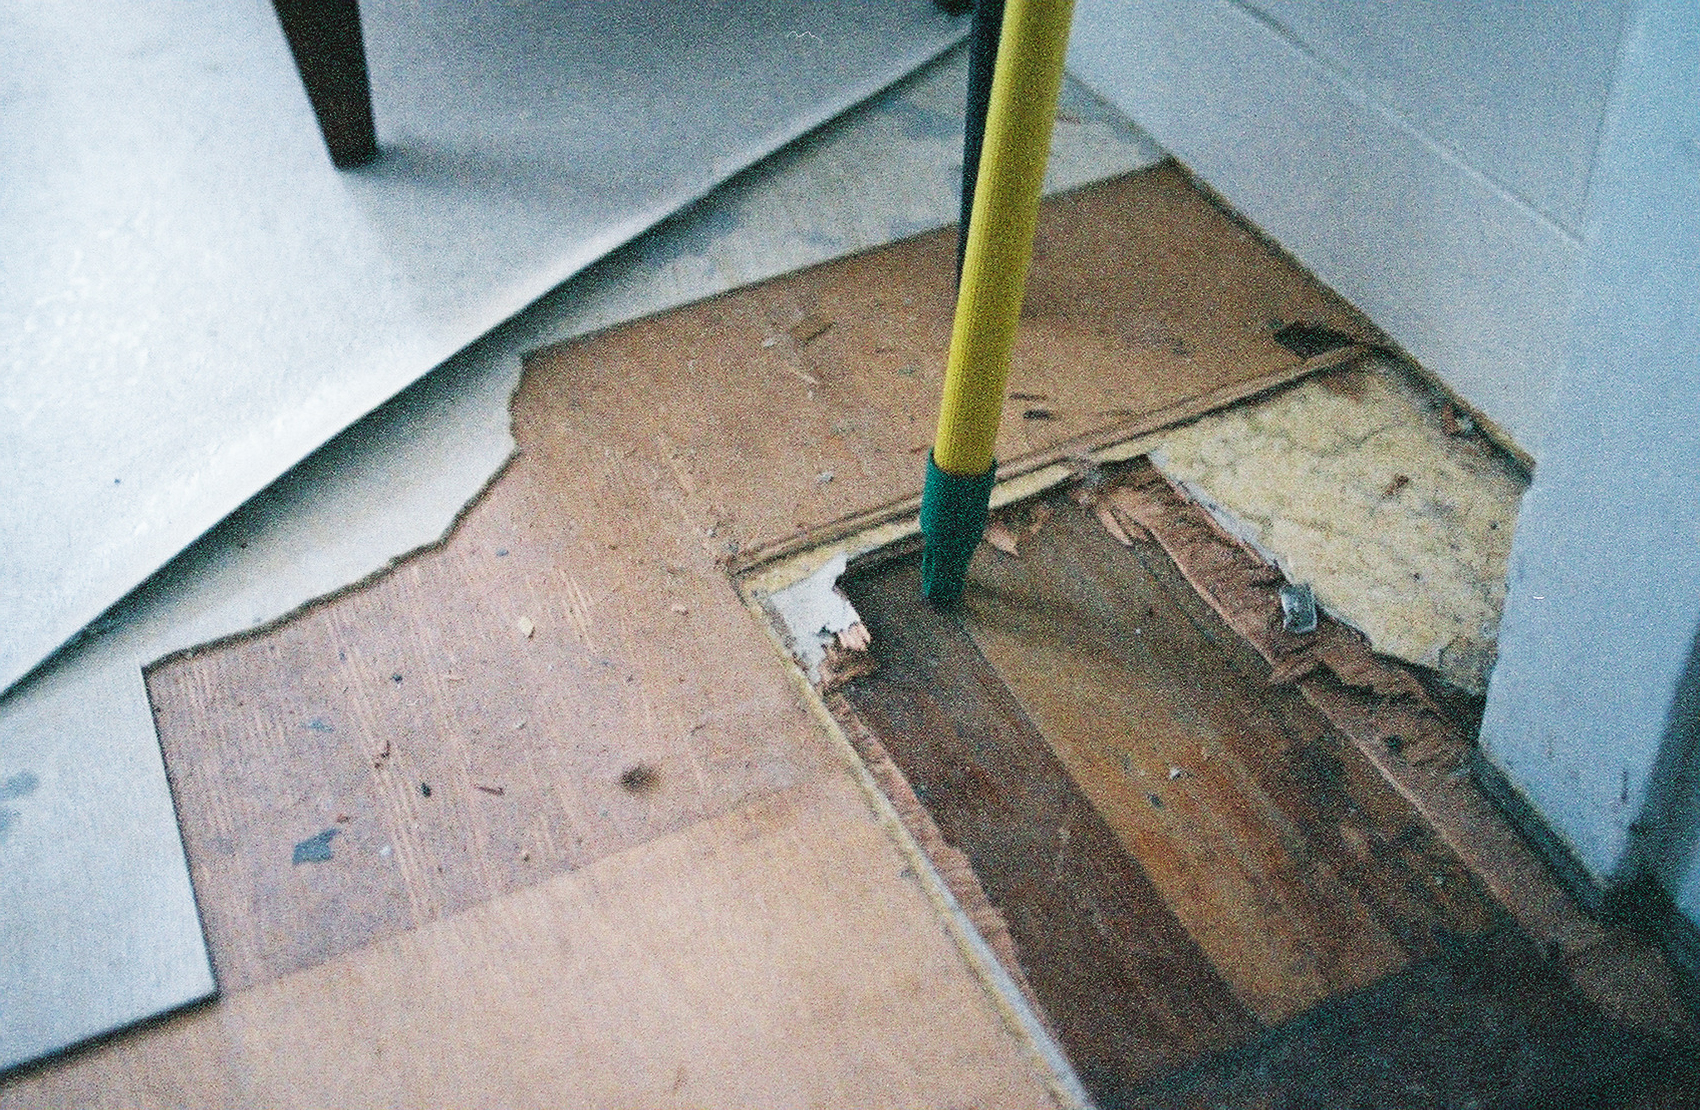
 Starting to actually rip up the flooring now. In this shot you can see all the layers - sheet vinyl, self-stick linoleum tiles, plywood subfloor, nasty old sheet lino with gold sparkles (!), more subfloor, and then (insert angelic choir noise here) the original wood floors! In decent condition!
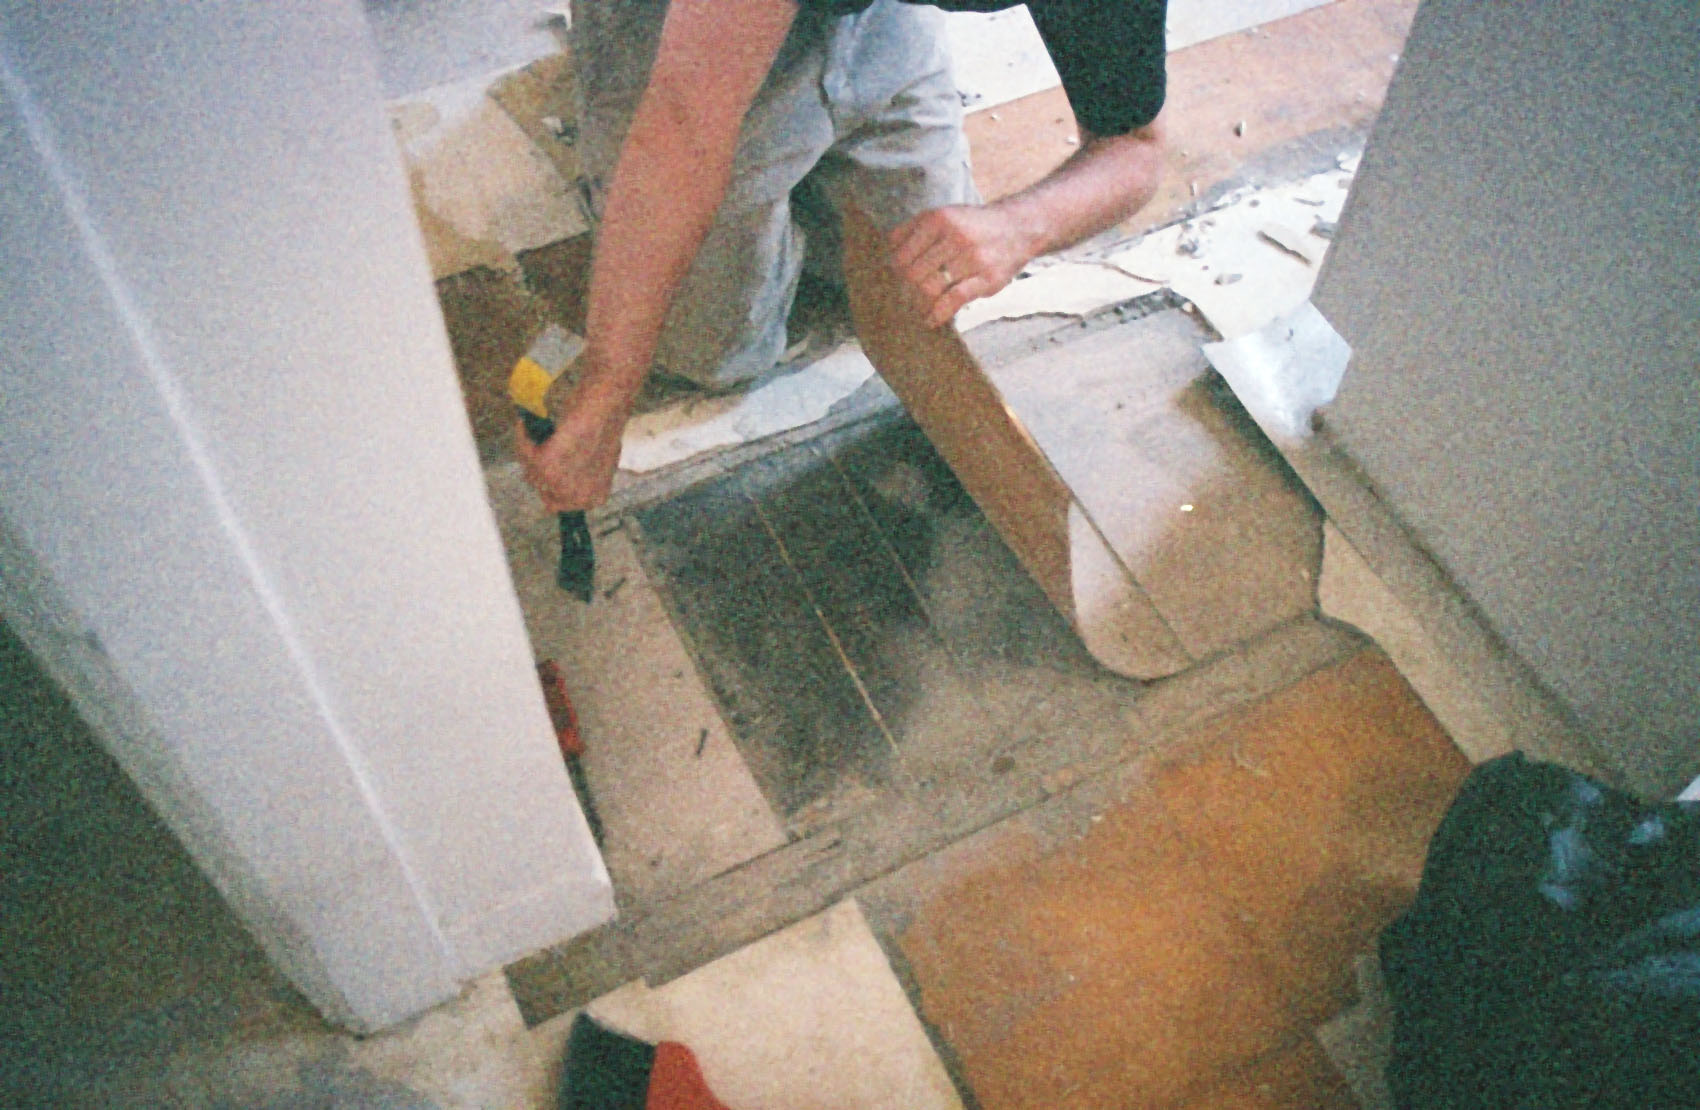
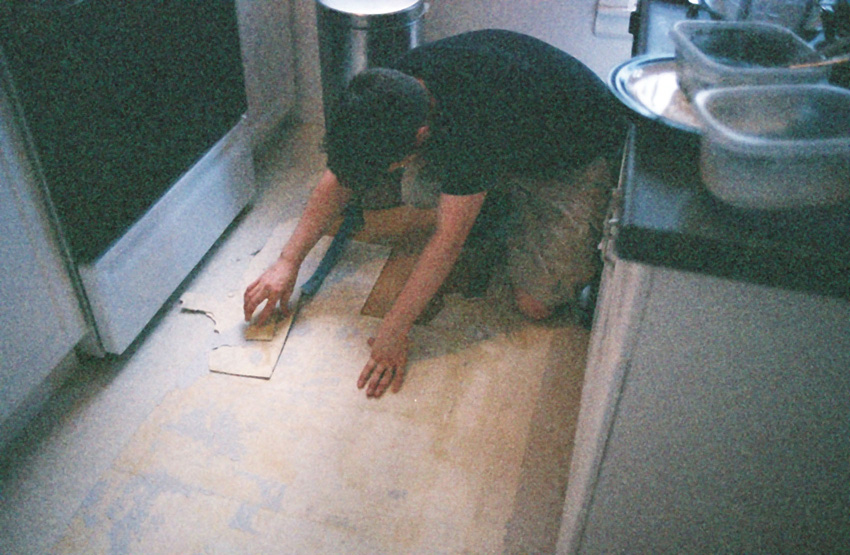 So, prepping for that involved ripping up the top 2 layers - the sheet vinyl and the lino tiles. The vinyl came up pretty easily, but the tiles took a bit more effort. We eventually settled on prying them up with small prybars. Some came up fairly easily and cleanly, but others tore into messy chunks. Here you can see one of the latter.

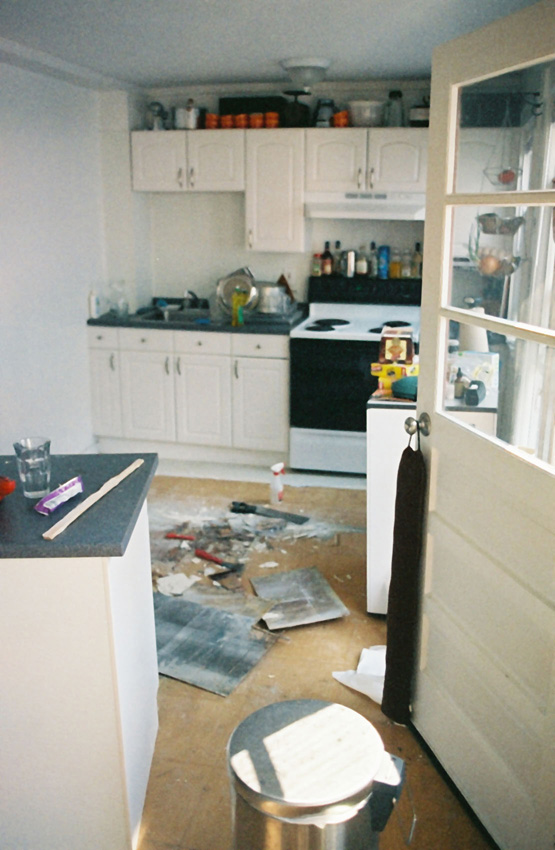
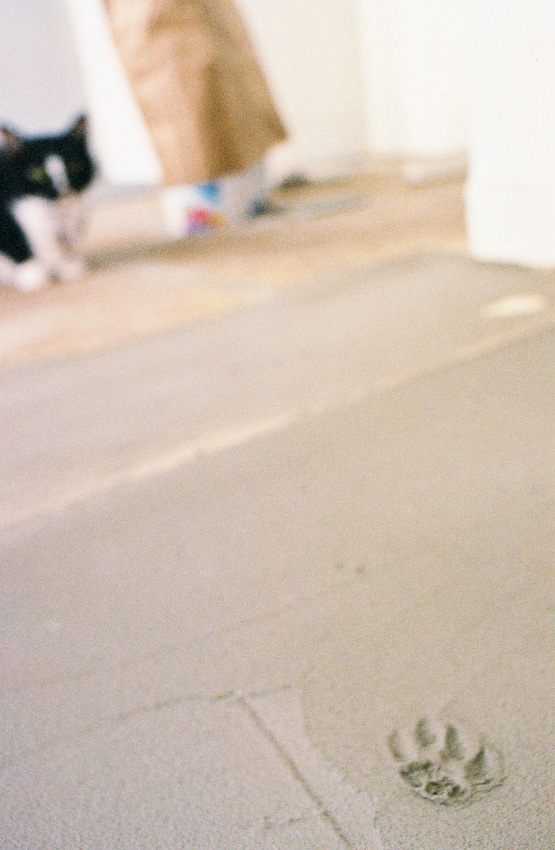
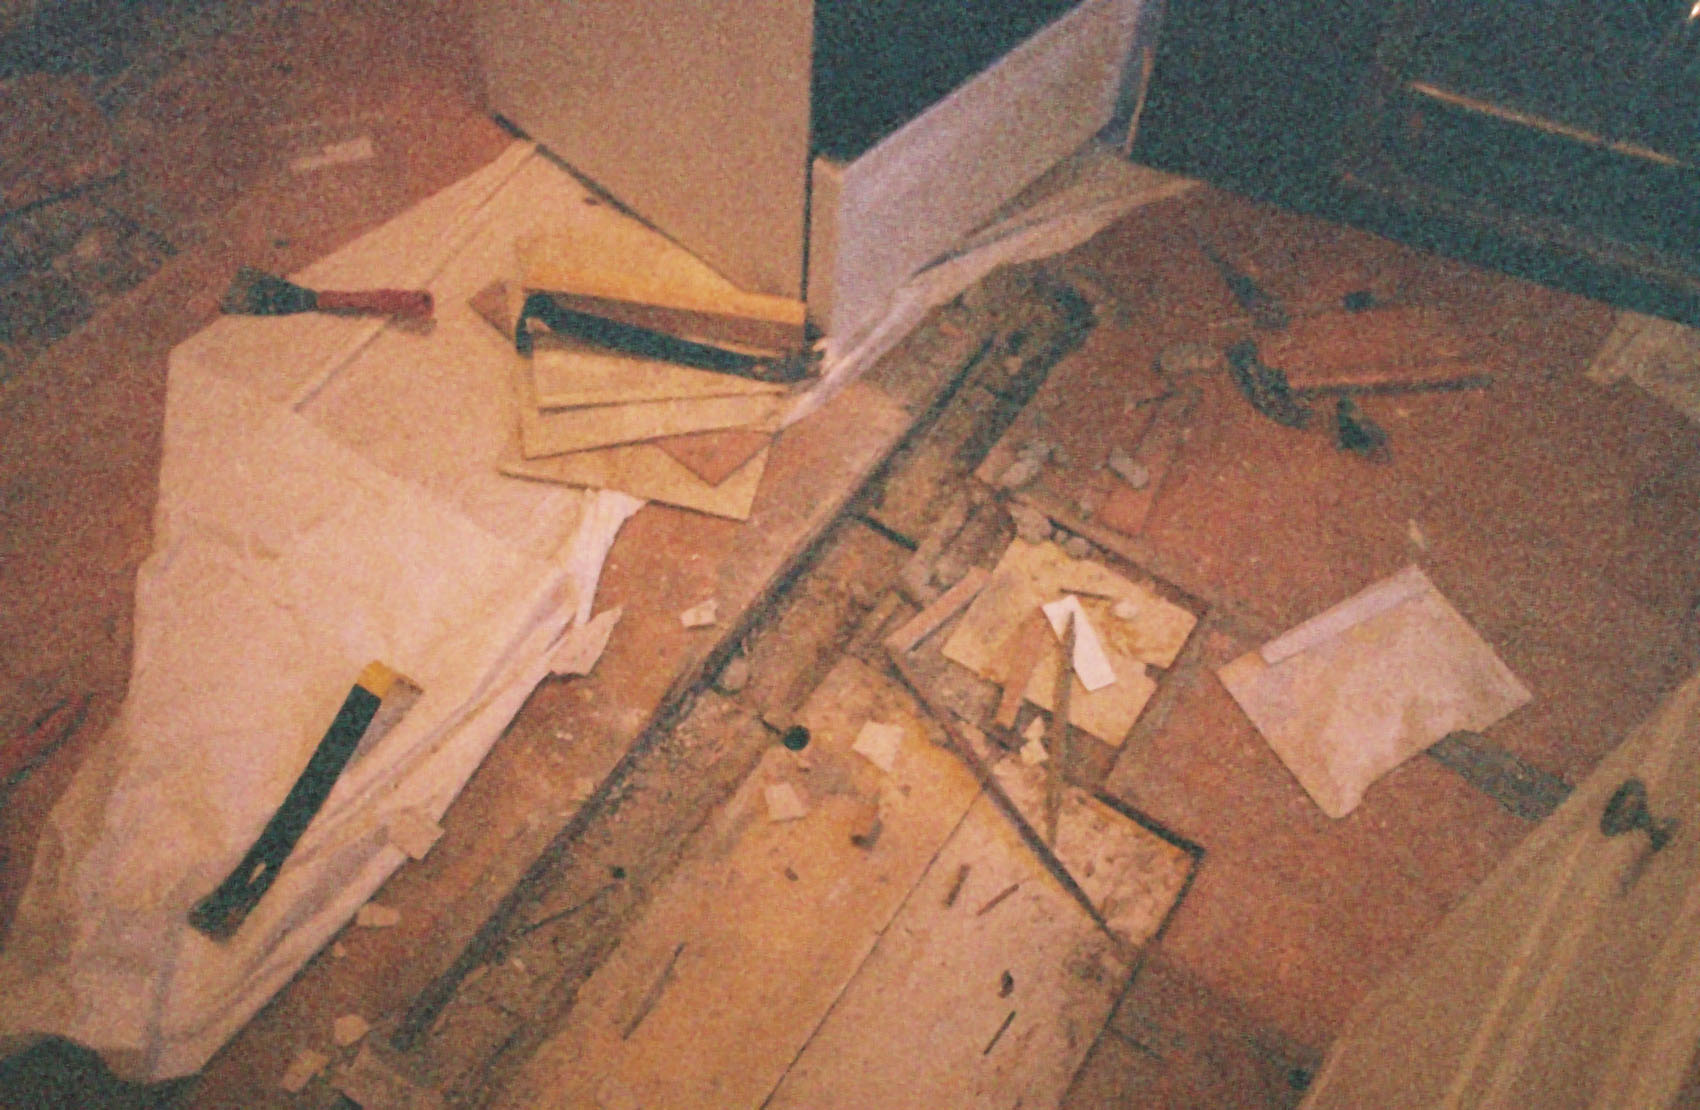
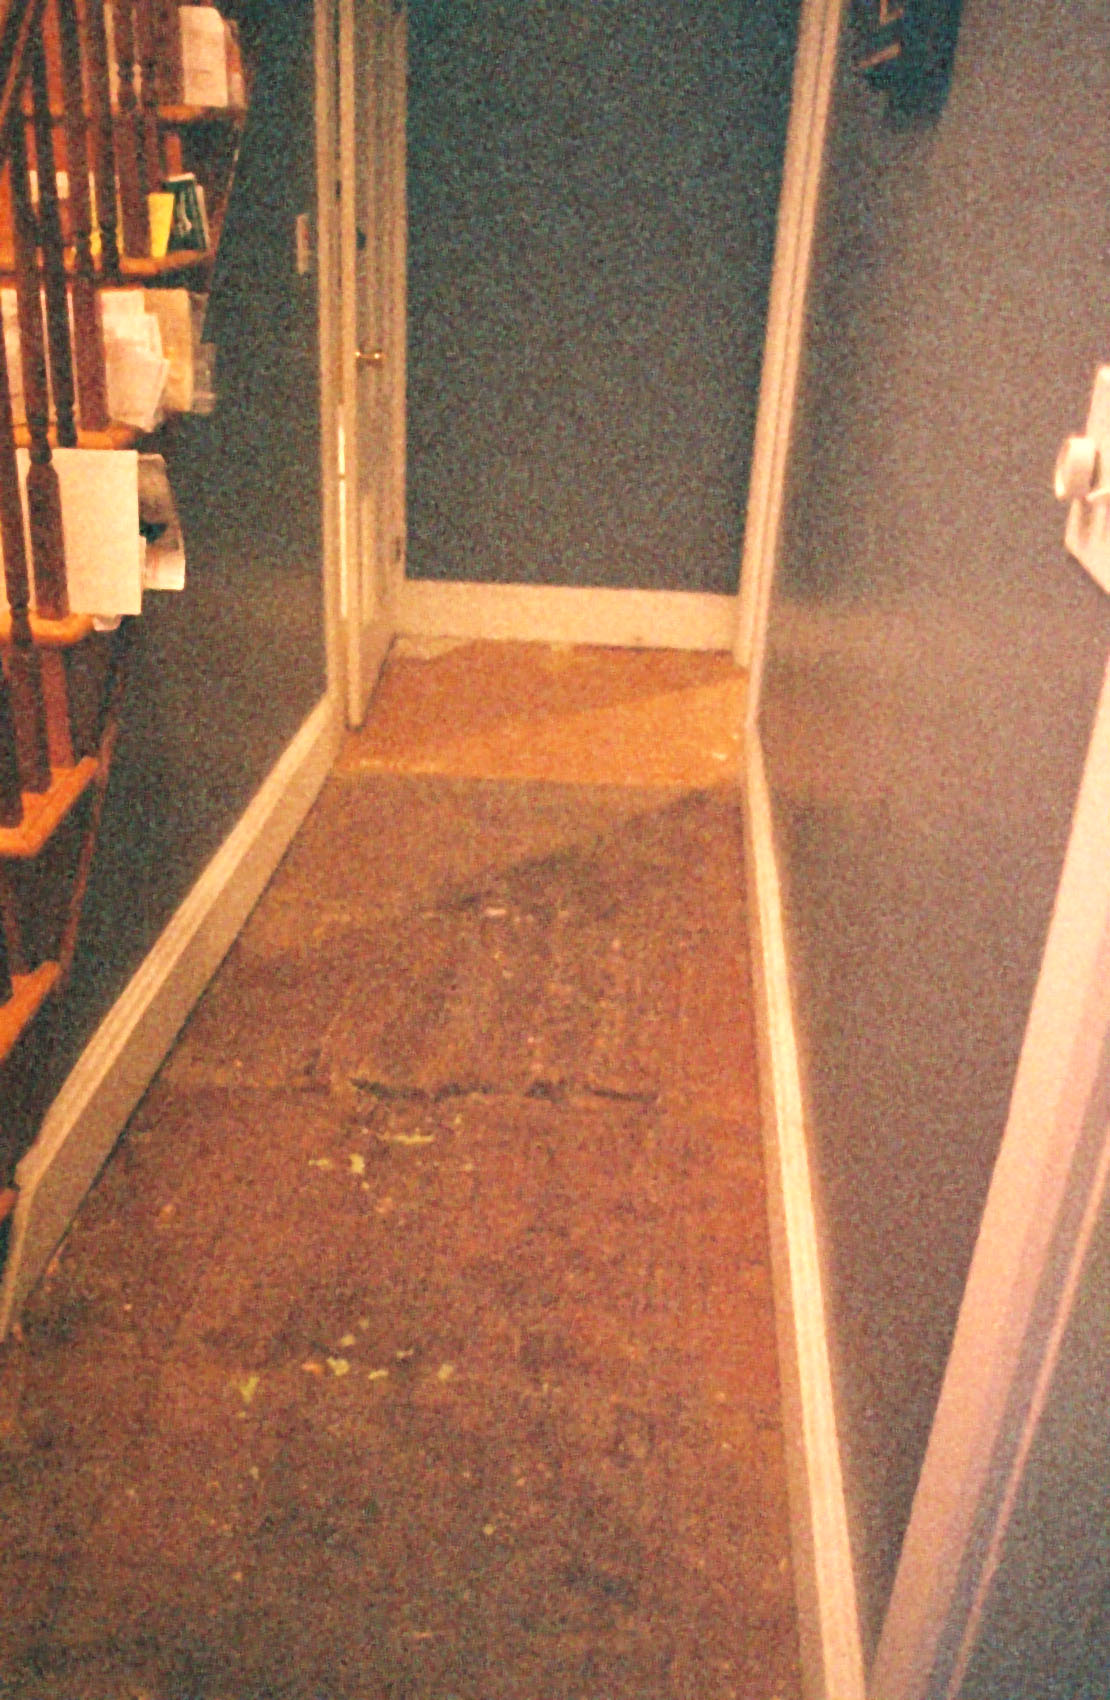
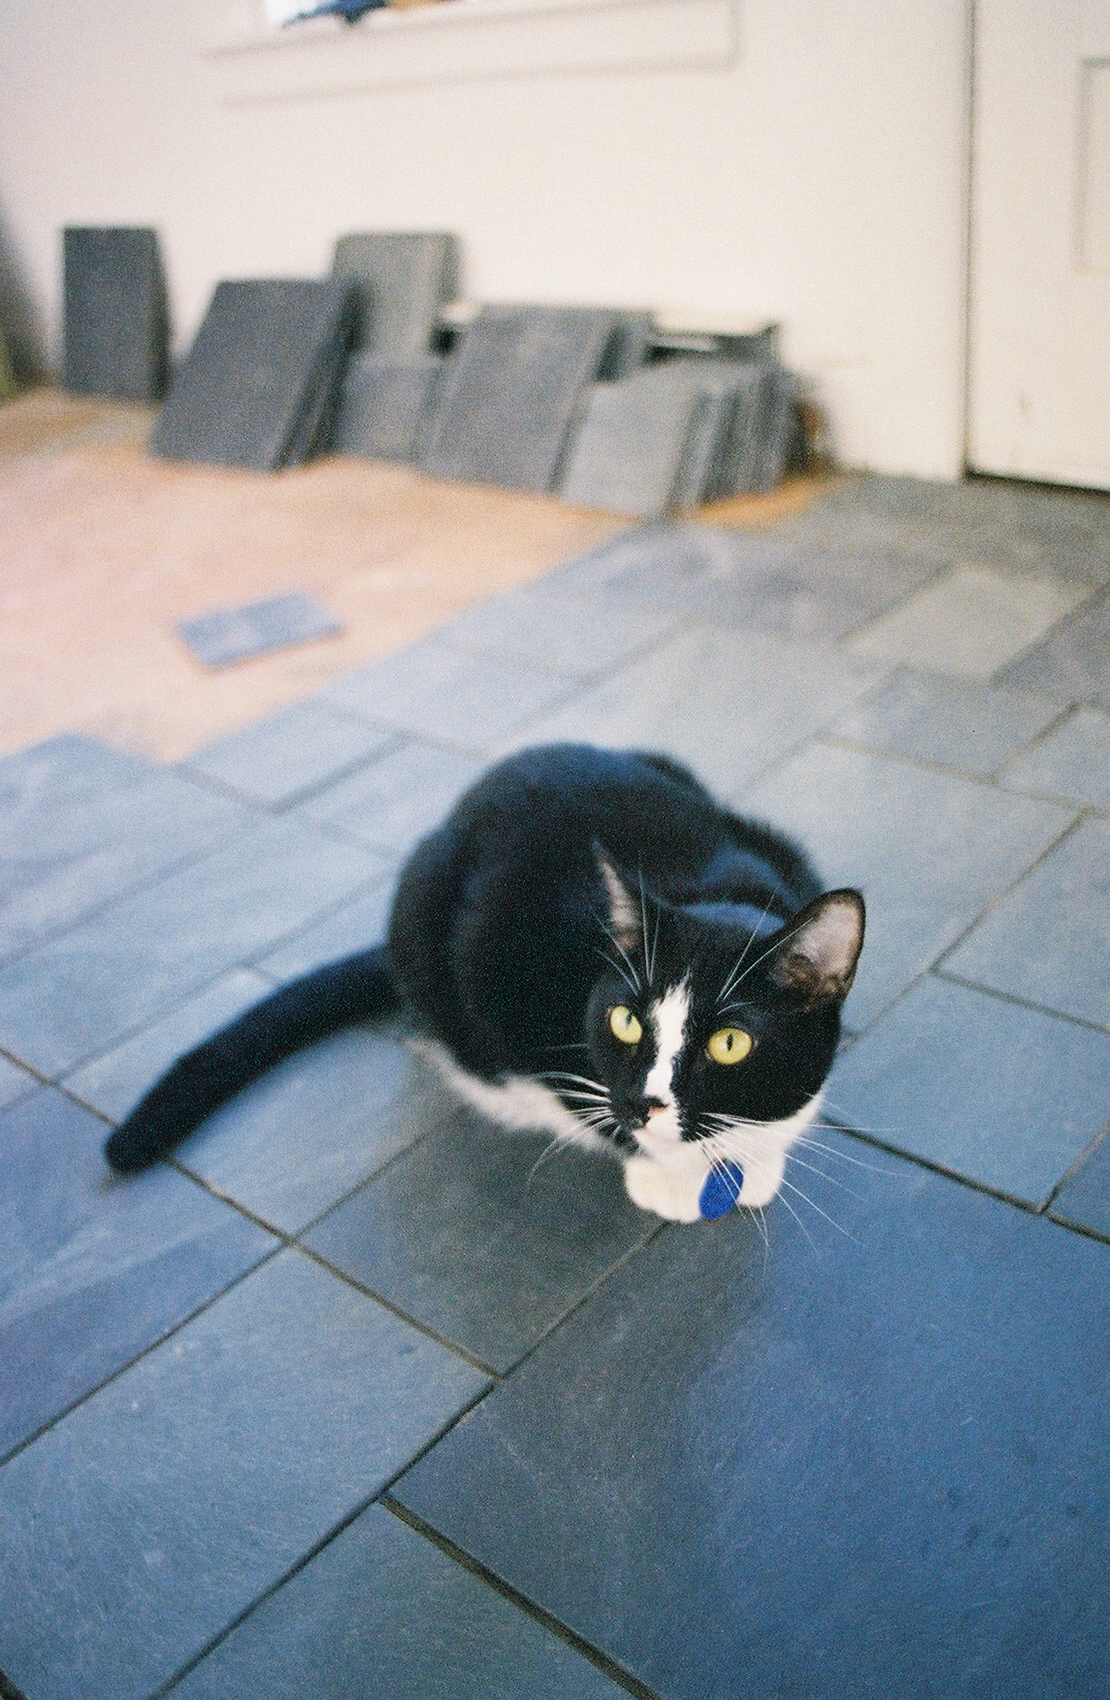
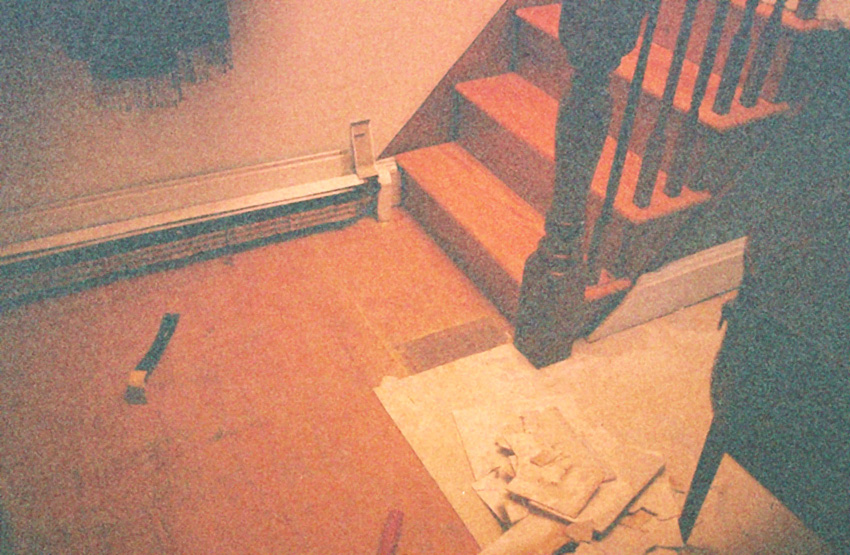 The hallway, part of the way through ripping out the lino tiles. Interestingly, even after these were ripped out, the glue that had held them down remained quite sticky, so you couldn't stand in one place very long or you'd get cemented to the floor. We got used to it, but the cats were pretty stressed for a couple of weeks.

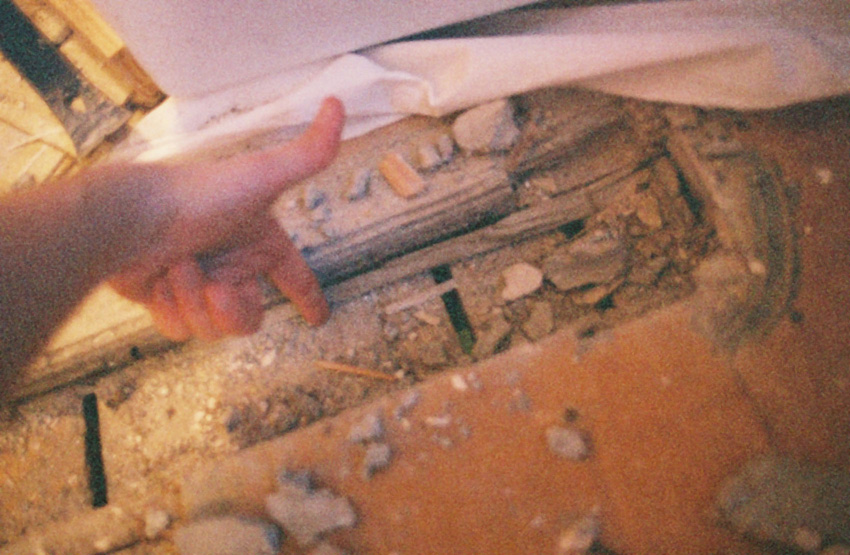
 It's pretty hard to tell from this crap shot, but the idea here was to illustrate how the island was anchored to the floor. Screws? Nails? Brackets? No, silly rabbit. Glue. The frickin' thing was glued down to the sheet vinyl.

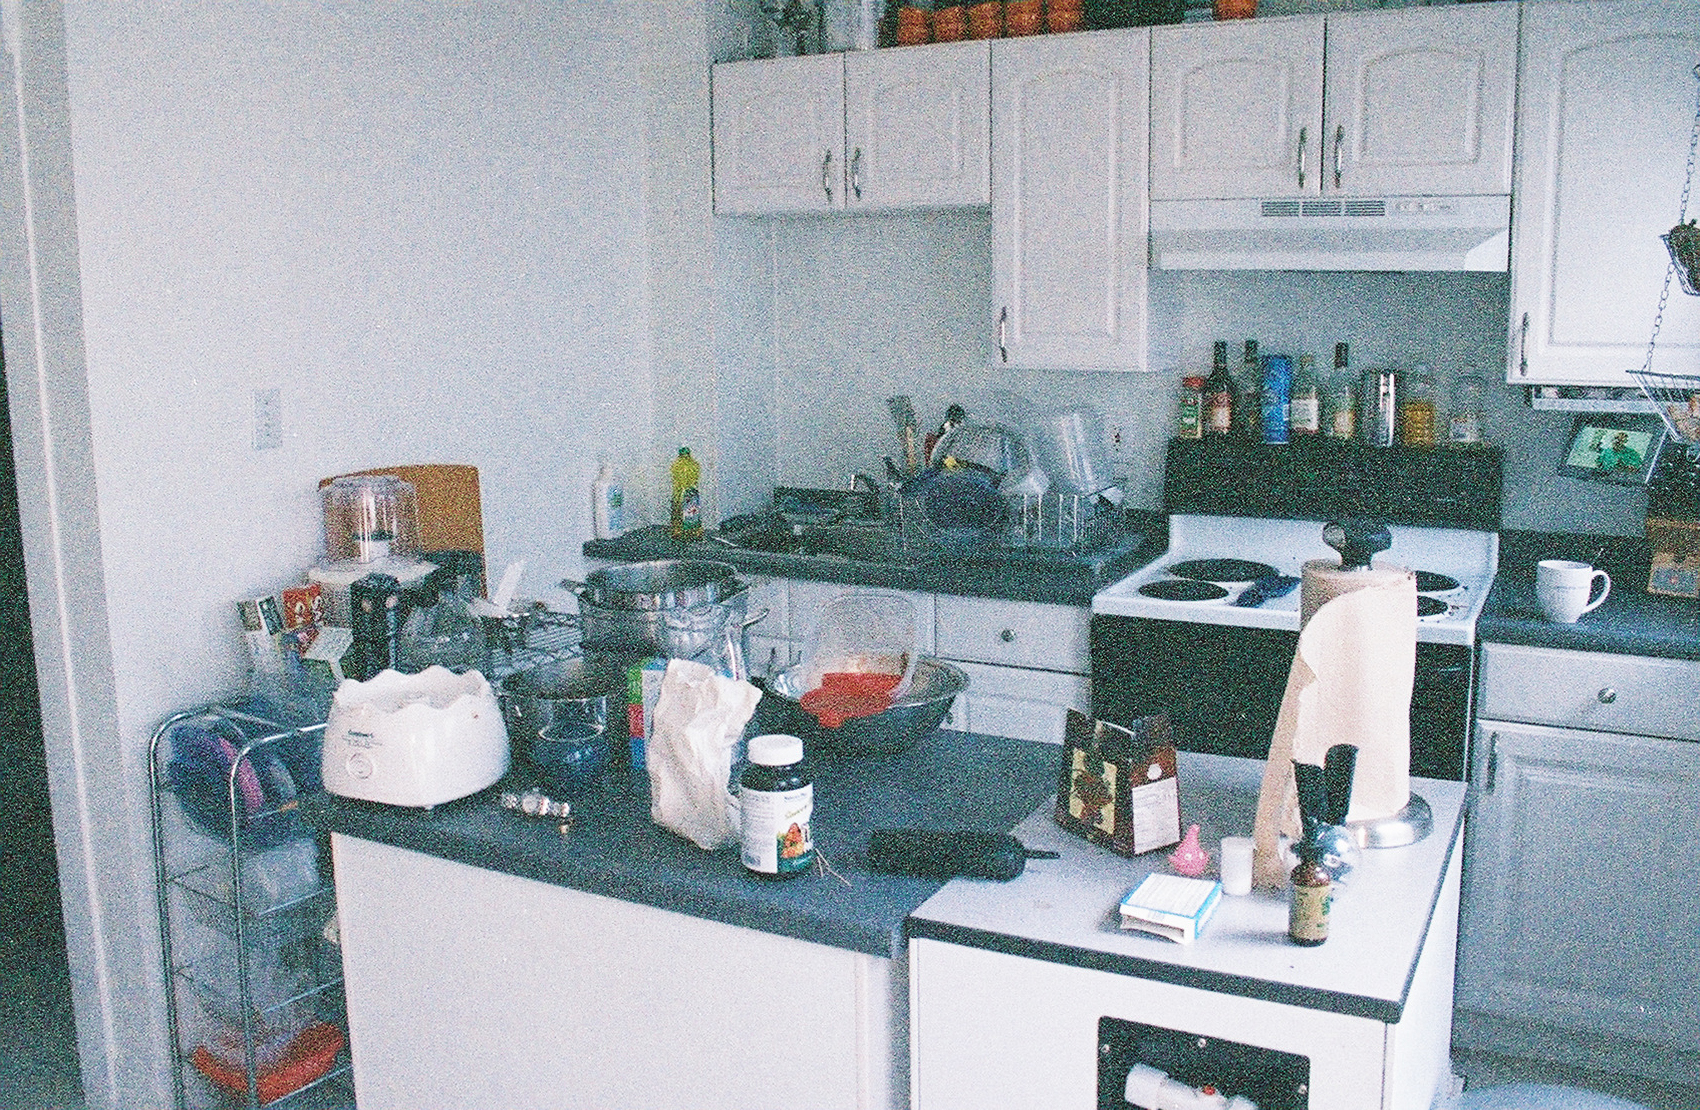
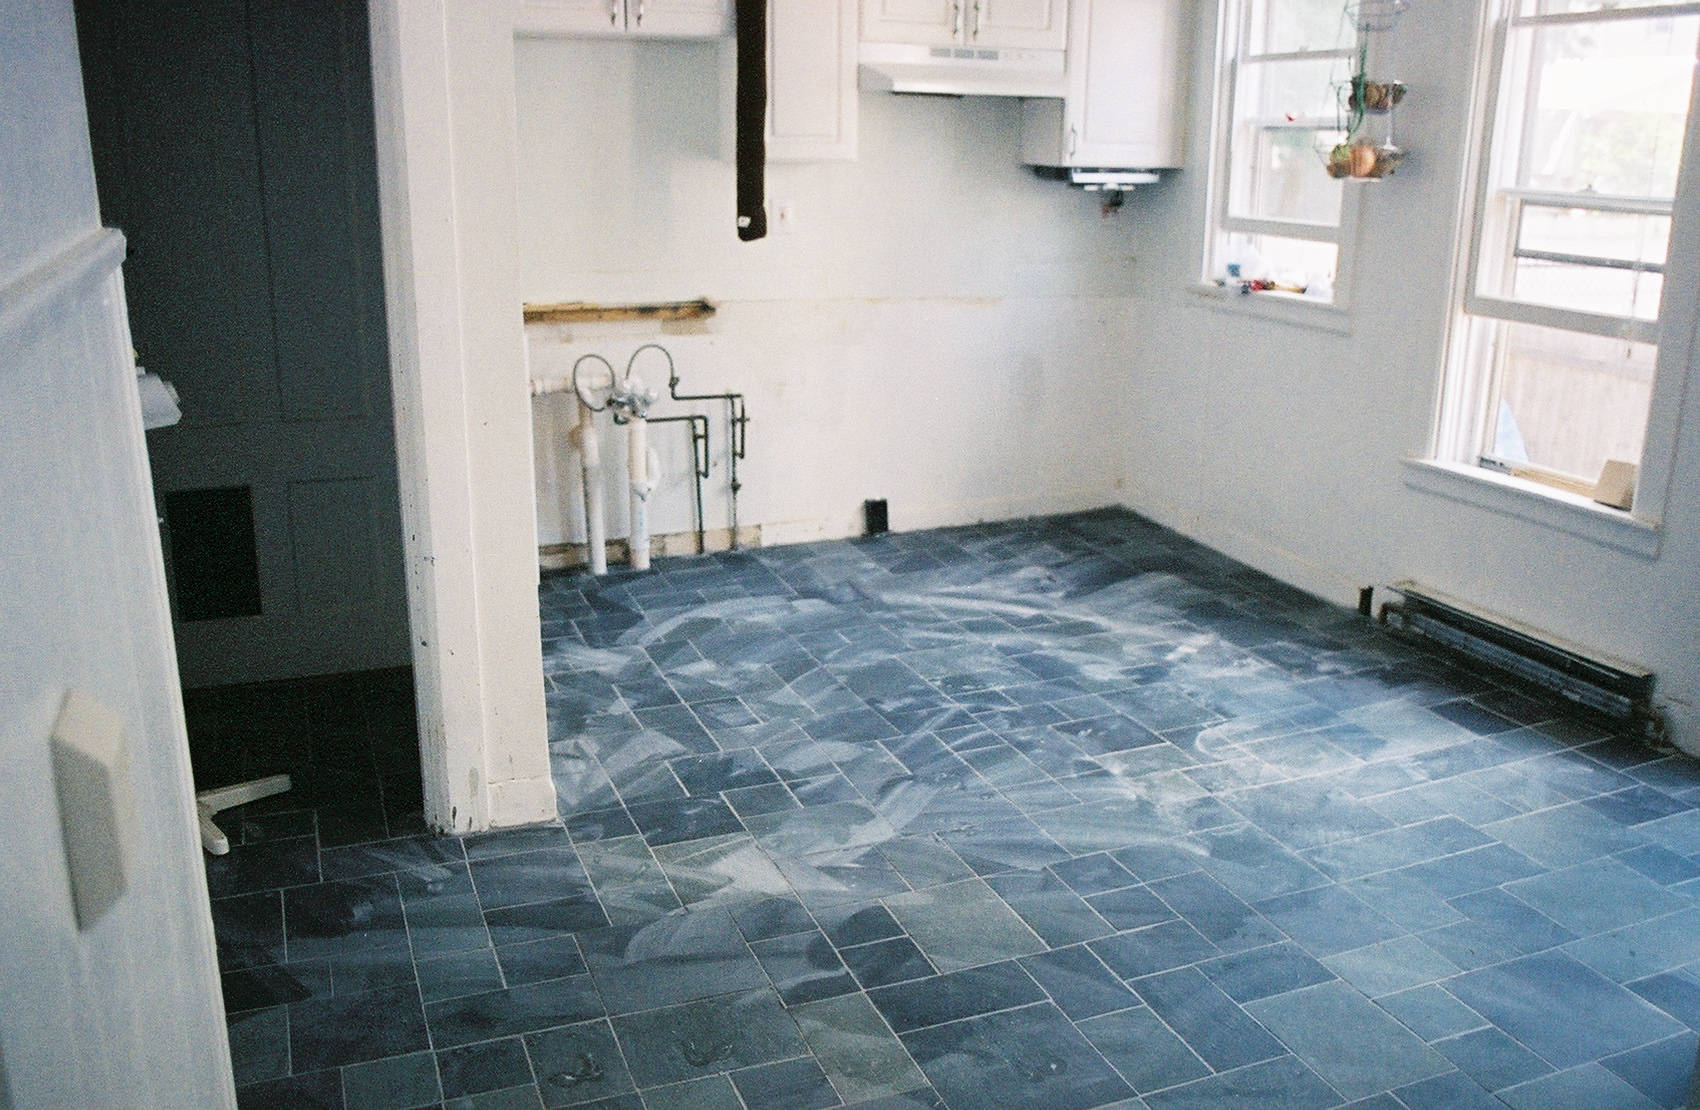
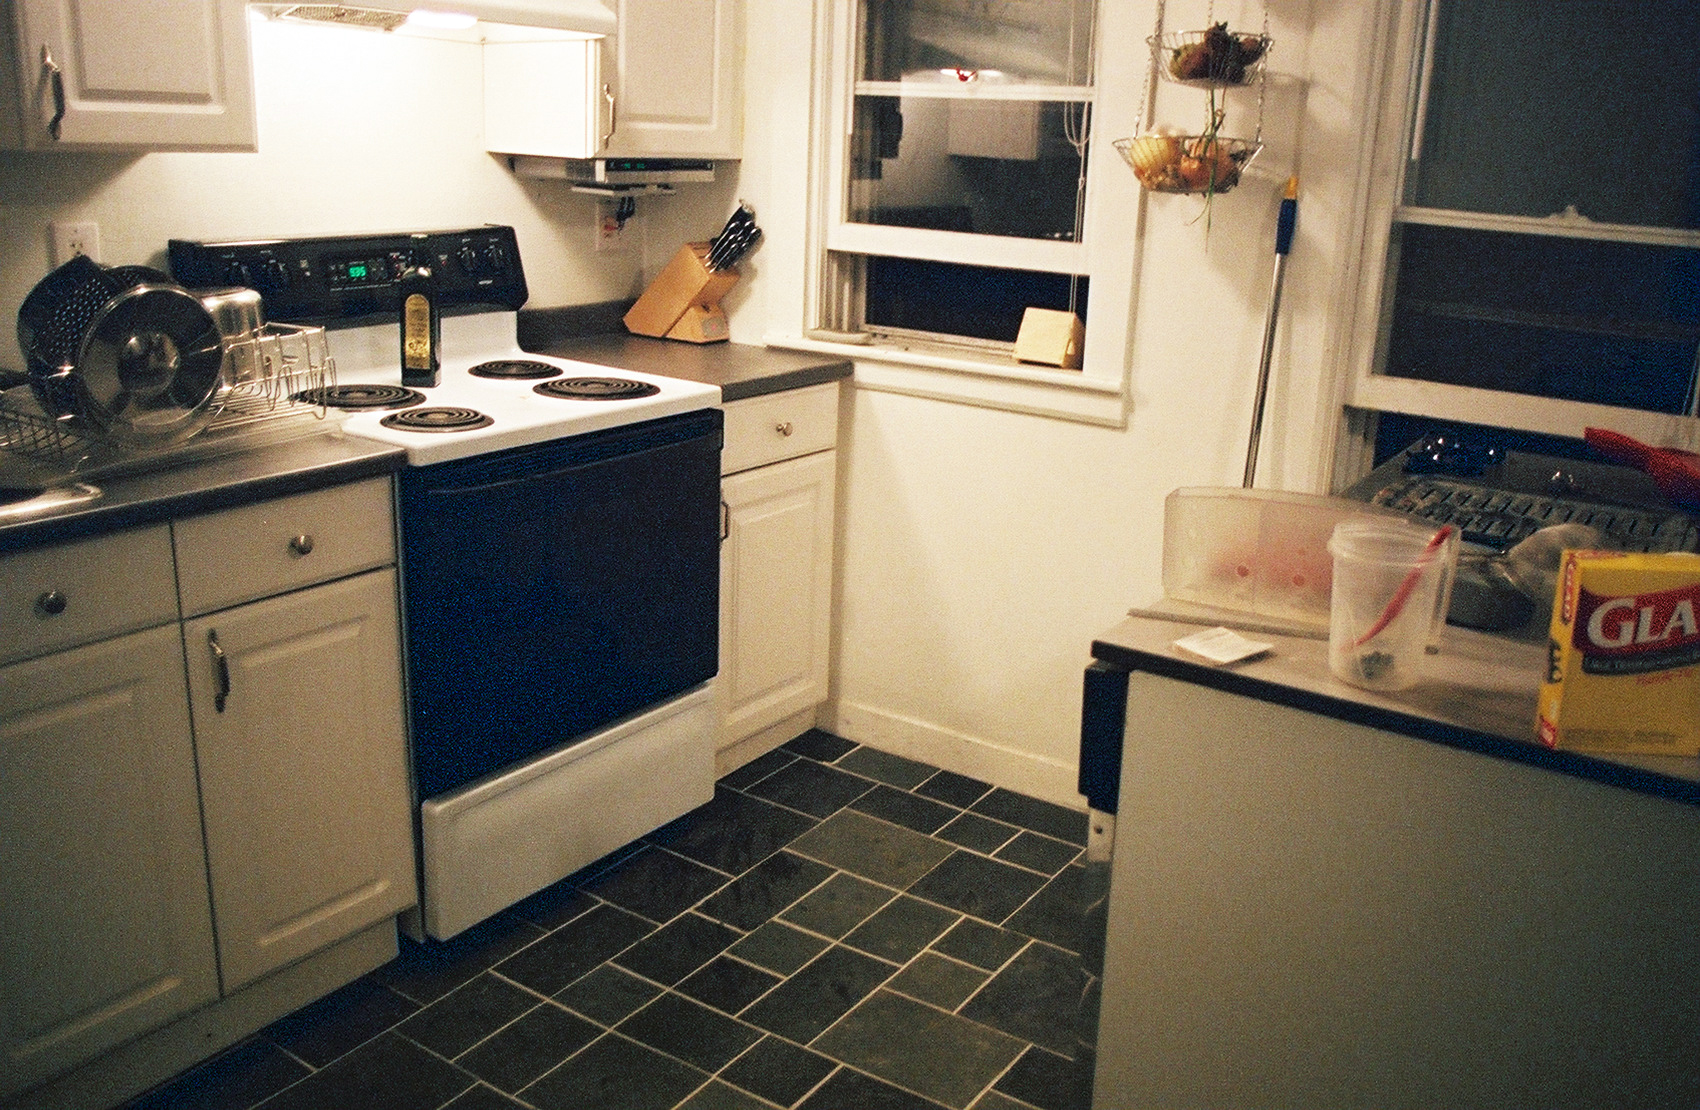
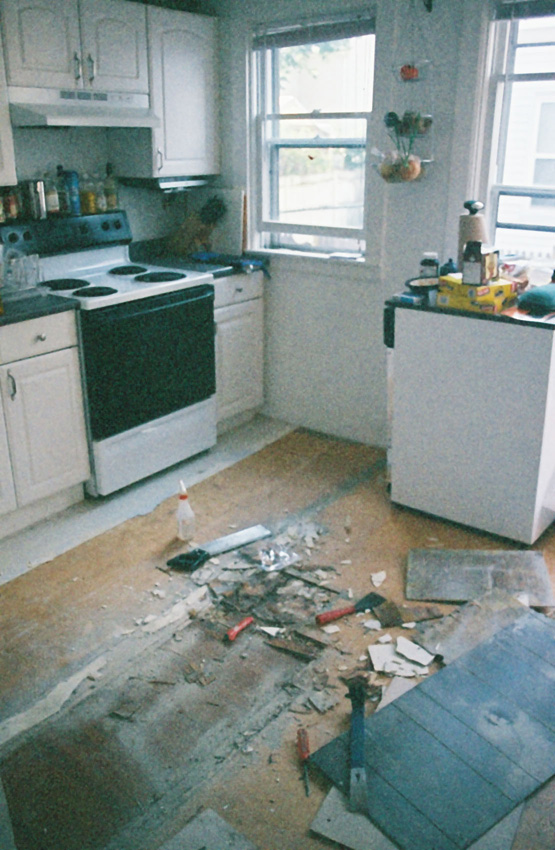 This chunk of the floor was an interesting mess to deal with. Apparently, when the place was originally built, the kitchen was divided with one of those old Victorian pantry things. A wall went from between the two windows shown here to the opposite wall, forming a narrow passage that presumably held the sink, dishes, and shelves/cupboards, judging by what we can make out of the floor configuration and other similar setups in houses of the same age in the same neighborhood. The door into that pantry would have been over by where the dishwasher is parked in this shot, with the stove on the outside of the pantry, just to the left of that door, approximately where that red-handled scraper is. To the left of the stove would have been a built-in china cabinet or closet of some sort, about 18" deep and 36" wide.

 That all was ripped out around 1972 in favor of this much more open layout. While I'm generally all for preserving the original details in older homes, I have to agree with that decision here - those old pantries are not very functional or pleasant to work in.

 But, you ask, how can you date it to 1972 so precisely? Well, remember that that wall and china cabinet would have been built on the lowest level of floor, and between then and the time it they were ripped out, several layers of subfloor were built up. So when they ripped out the wall and china cabinet, they had to fill in a few inches of void.

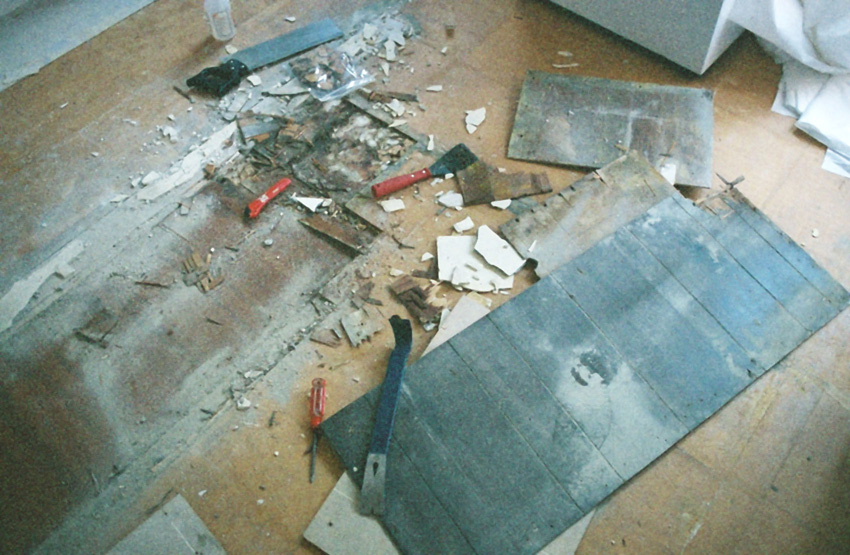 Now, the sensible thing to do would be to cut some nice, solid panels of plywood to fit. But remember that this place was a rental before we bought it - sensible was less important than cheap. So, they filled it in with scraps they had lying around, including 5 layers of that horrid 1970s fake woodgrain paneling. One of those panels is in evidence in this shot, with the prybar sitting on top of it. On the back of that panel were certain details stencilled on by the manufacturer, including the 1972 date of manufacture. Aha! How's that for archaeology?

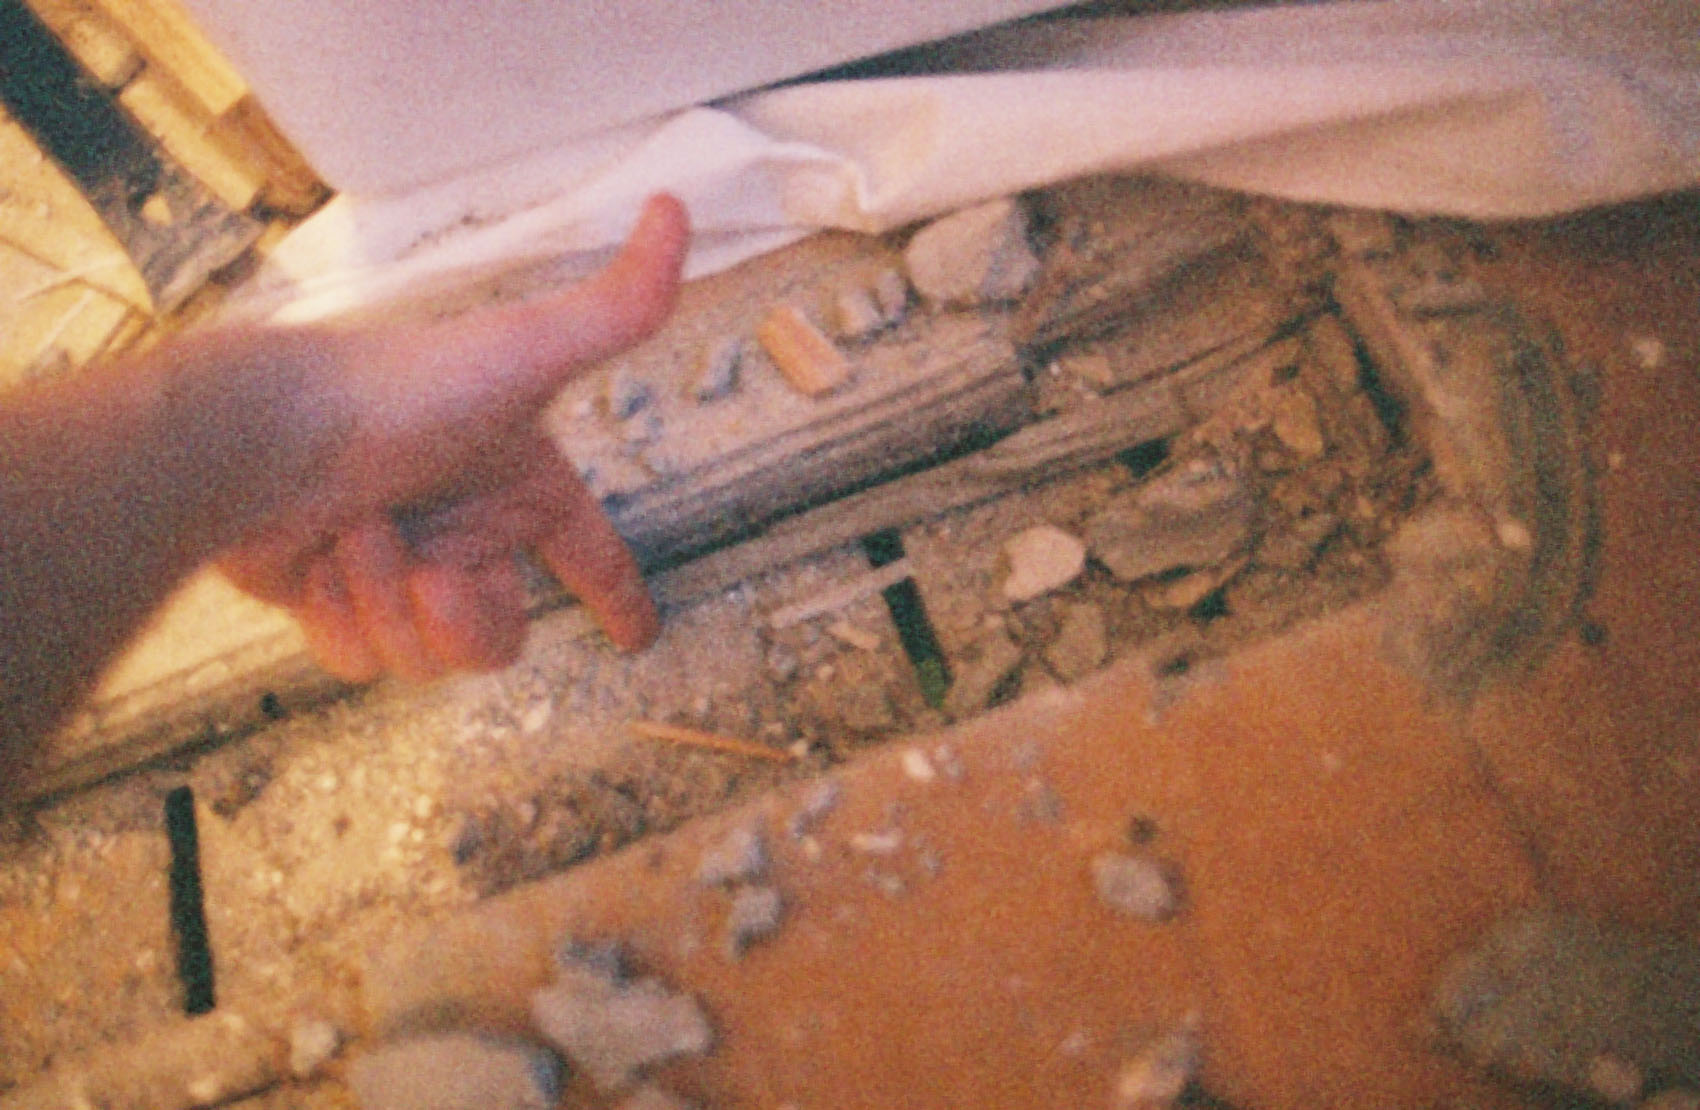
 Since this underlayment was made of thin, crappy, and sometimes degrading panels, the floor had gone all soft, and there was a definite depression and squishy spot in the floor, bad enough to be very noticeable through the top layer of sheet vinyl. Also used as filler were a couple of lengths of 2X4 and quite a lot of rather slapdash concrete and plaster. We wanted our floor to have something a little more solid for an underlayment, so we ripped all of this rubbish out to replace it with solid plywood.

 It reminded me a bit of dentistry - you have to drill out all the nasty old rot before you can put in a filling. All told, the whole process of ripping out and replacing this section of subfloor was about 4 evenings' work.

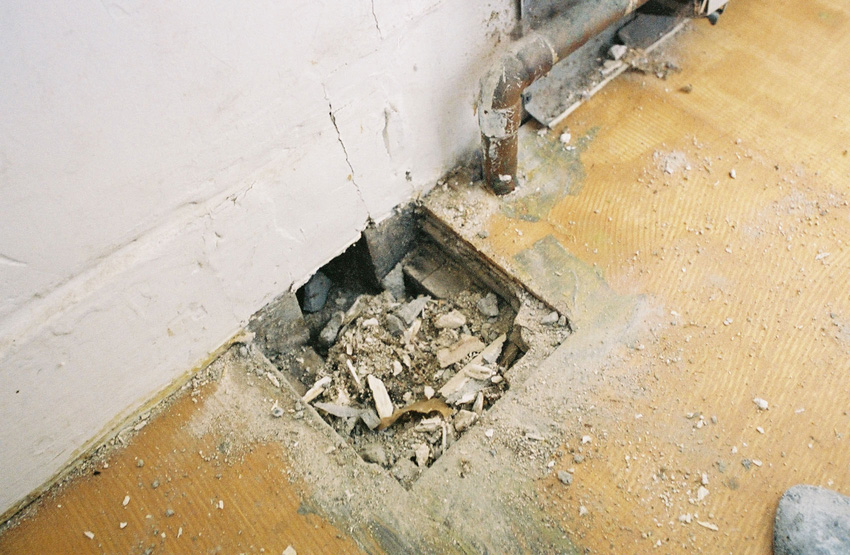 Over here, where the last stud of the old wall attached to the back wall, there was a void of about 3" x 3" x 3", which they filled in by pouring in concrete. Took about an hour to chip that all out.

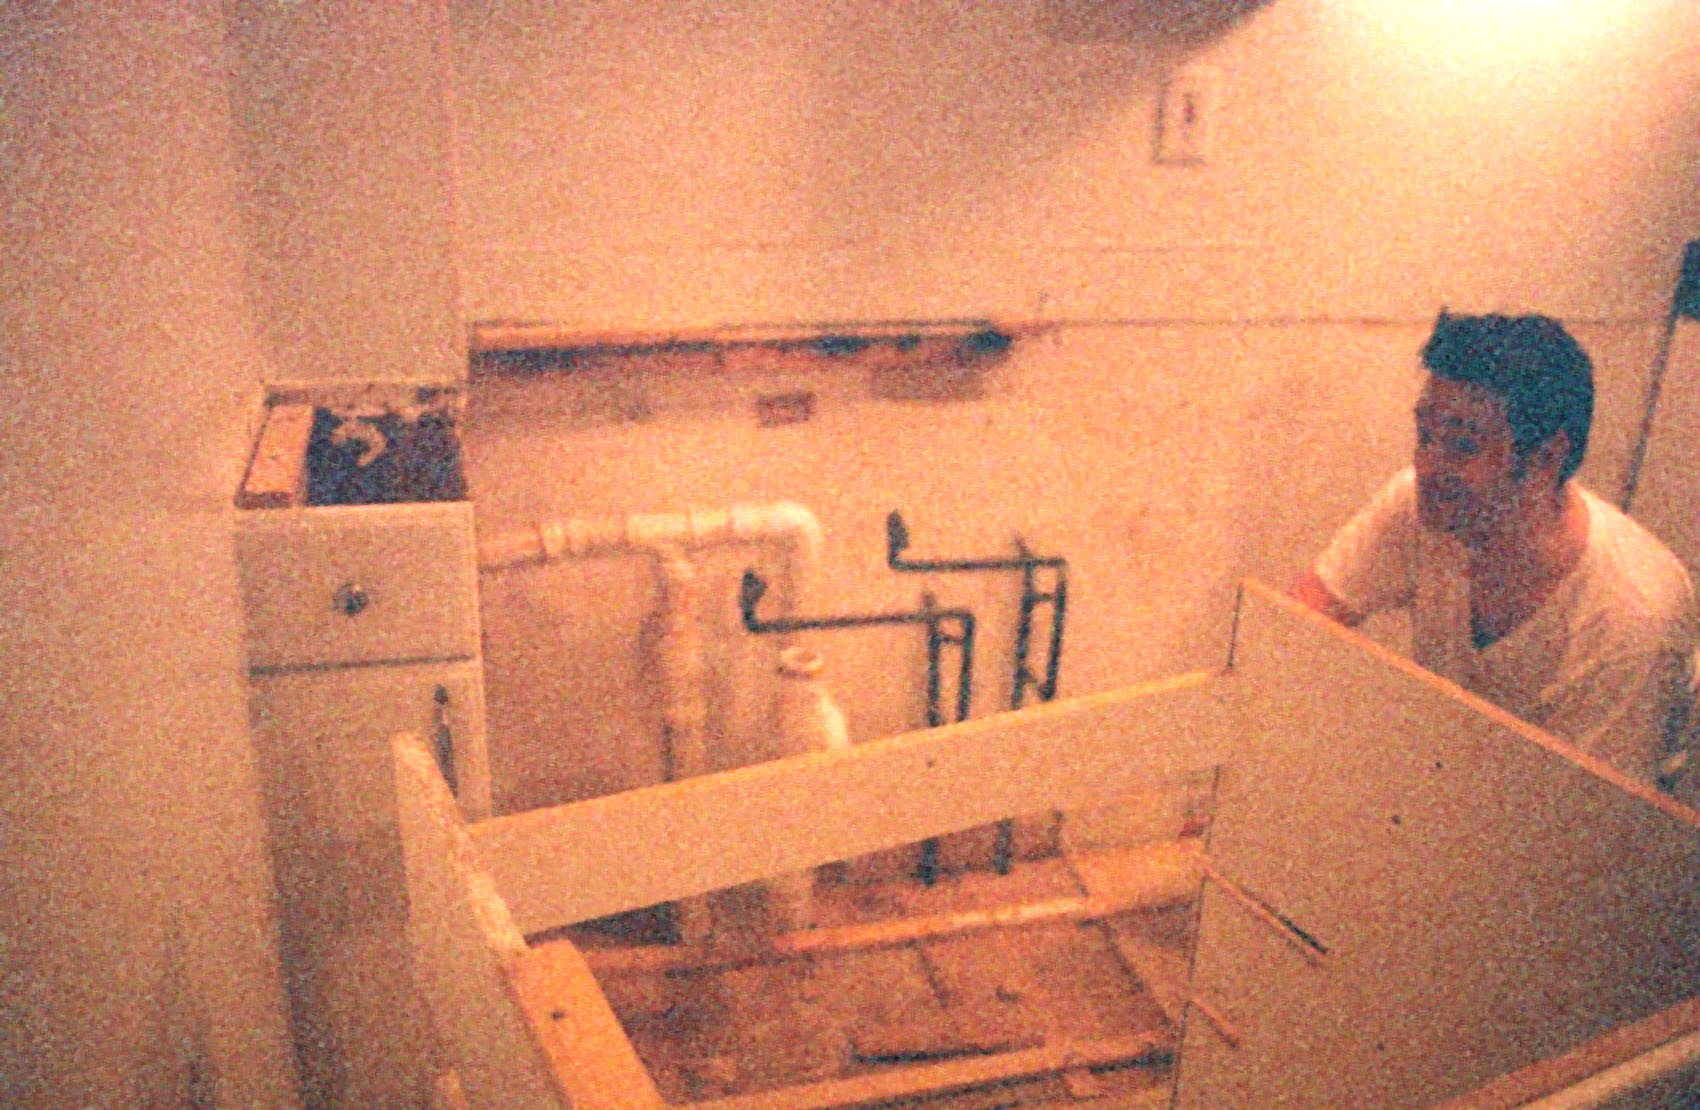
 Now, it was time to pull out the kitchen cabinets against the wall. You'll note 3 randomly placed screws that held this one to the wall. These weren't sunk into a stud or anything solid, but just into drywall. A heavy smear of construction cement was doing all the real work of holding it in place.

 An open letter to the guys who installed these cabinets: There are plenty of other professions out there - cab driver, butcher, general manager of the MBTA. Maybe you'd be better off doing one of those, because you're obviously not very good at installing cabinets.
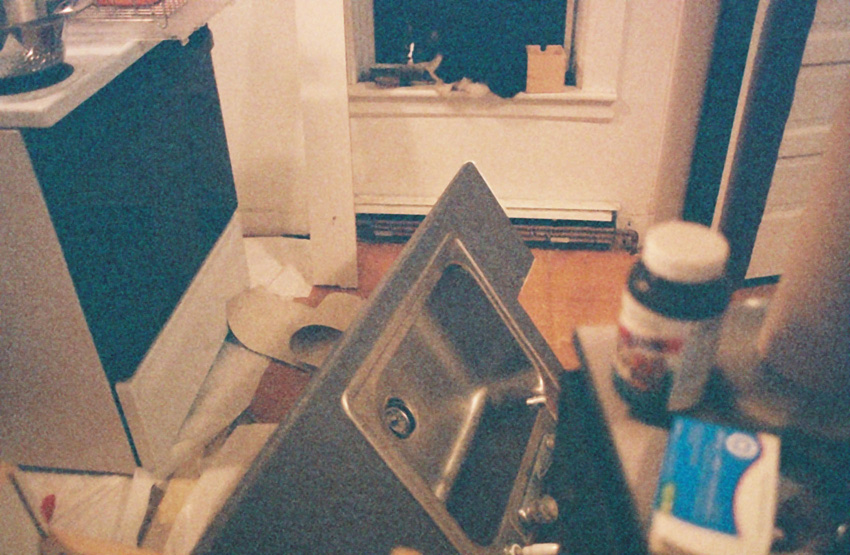
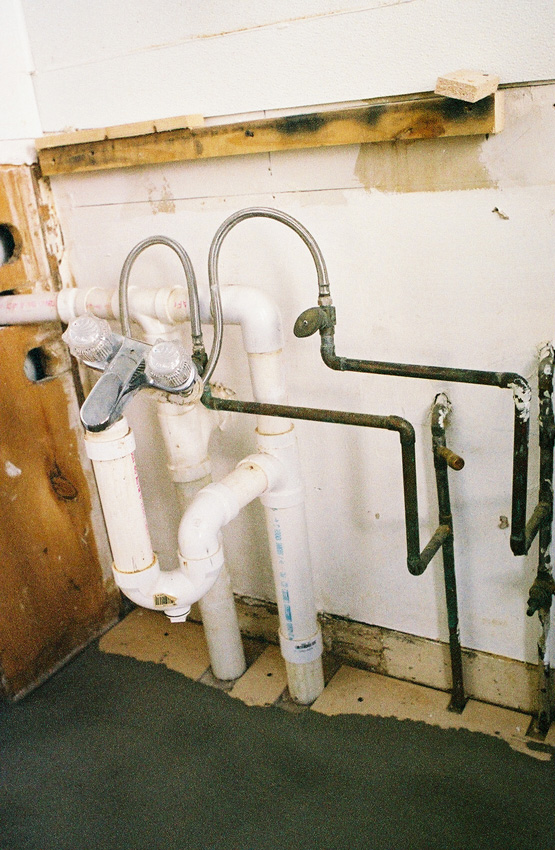 One of these shutoff valves wasn't doing a very good job of shutting off, so I had to hook up another faucet to the supply lines to keep it from leaking. Thankfully I had one in the basement from the old bathroom sink. When we rough in the new dishwasher, we'll have to replace the valve too, and make those pipes a little less rickety.

 It took a little over 2 weeks, but we finally got all of the tiles ripped out and the subfloor prepped. To make sure the subfloor was nice and secure, we sunk 2" screws into it every few inches - 4 pounds of screws by the time we were all done. And we were ready to start tiling! Just in the nick of time, too. My uncle, aunt, stepfather, cousin, and mom were all showing up the next morning.
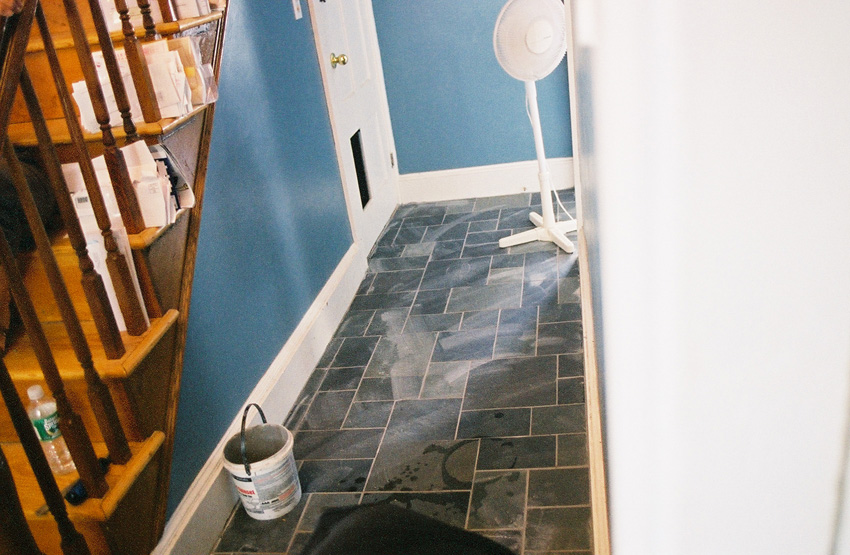
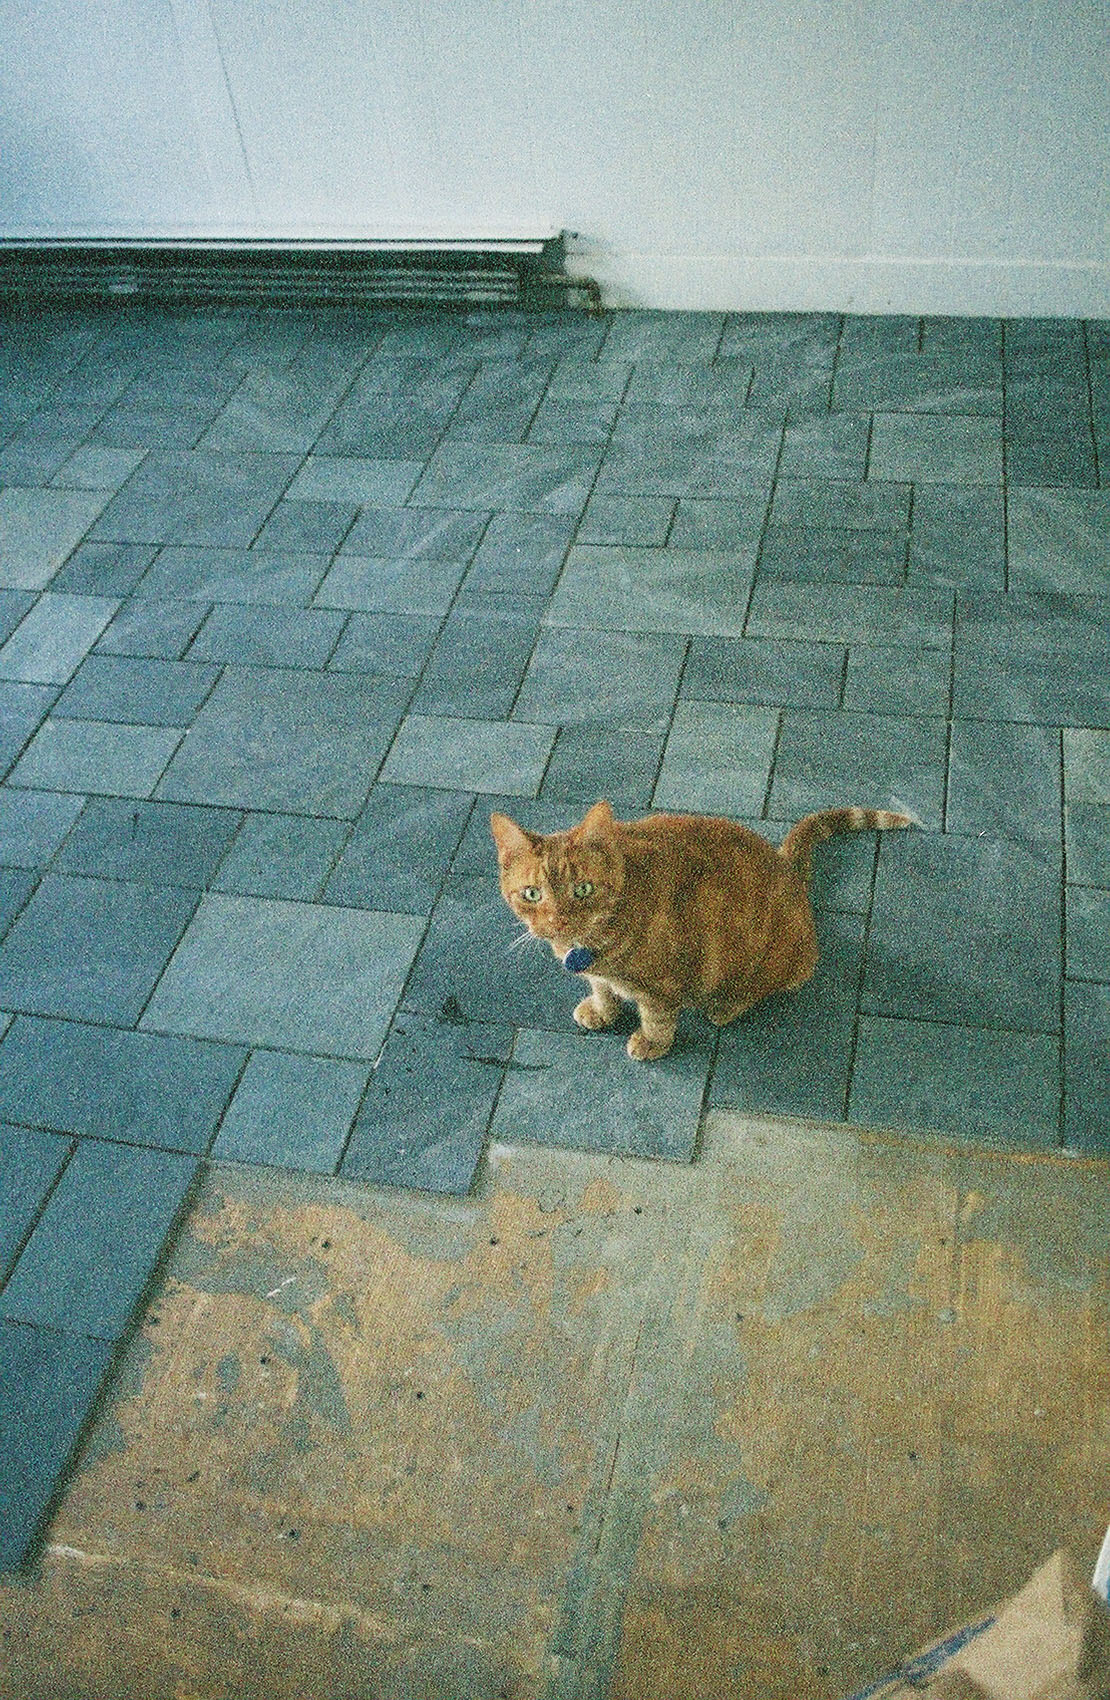
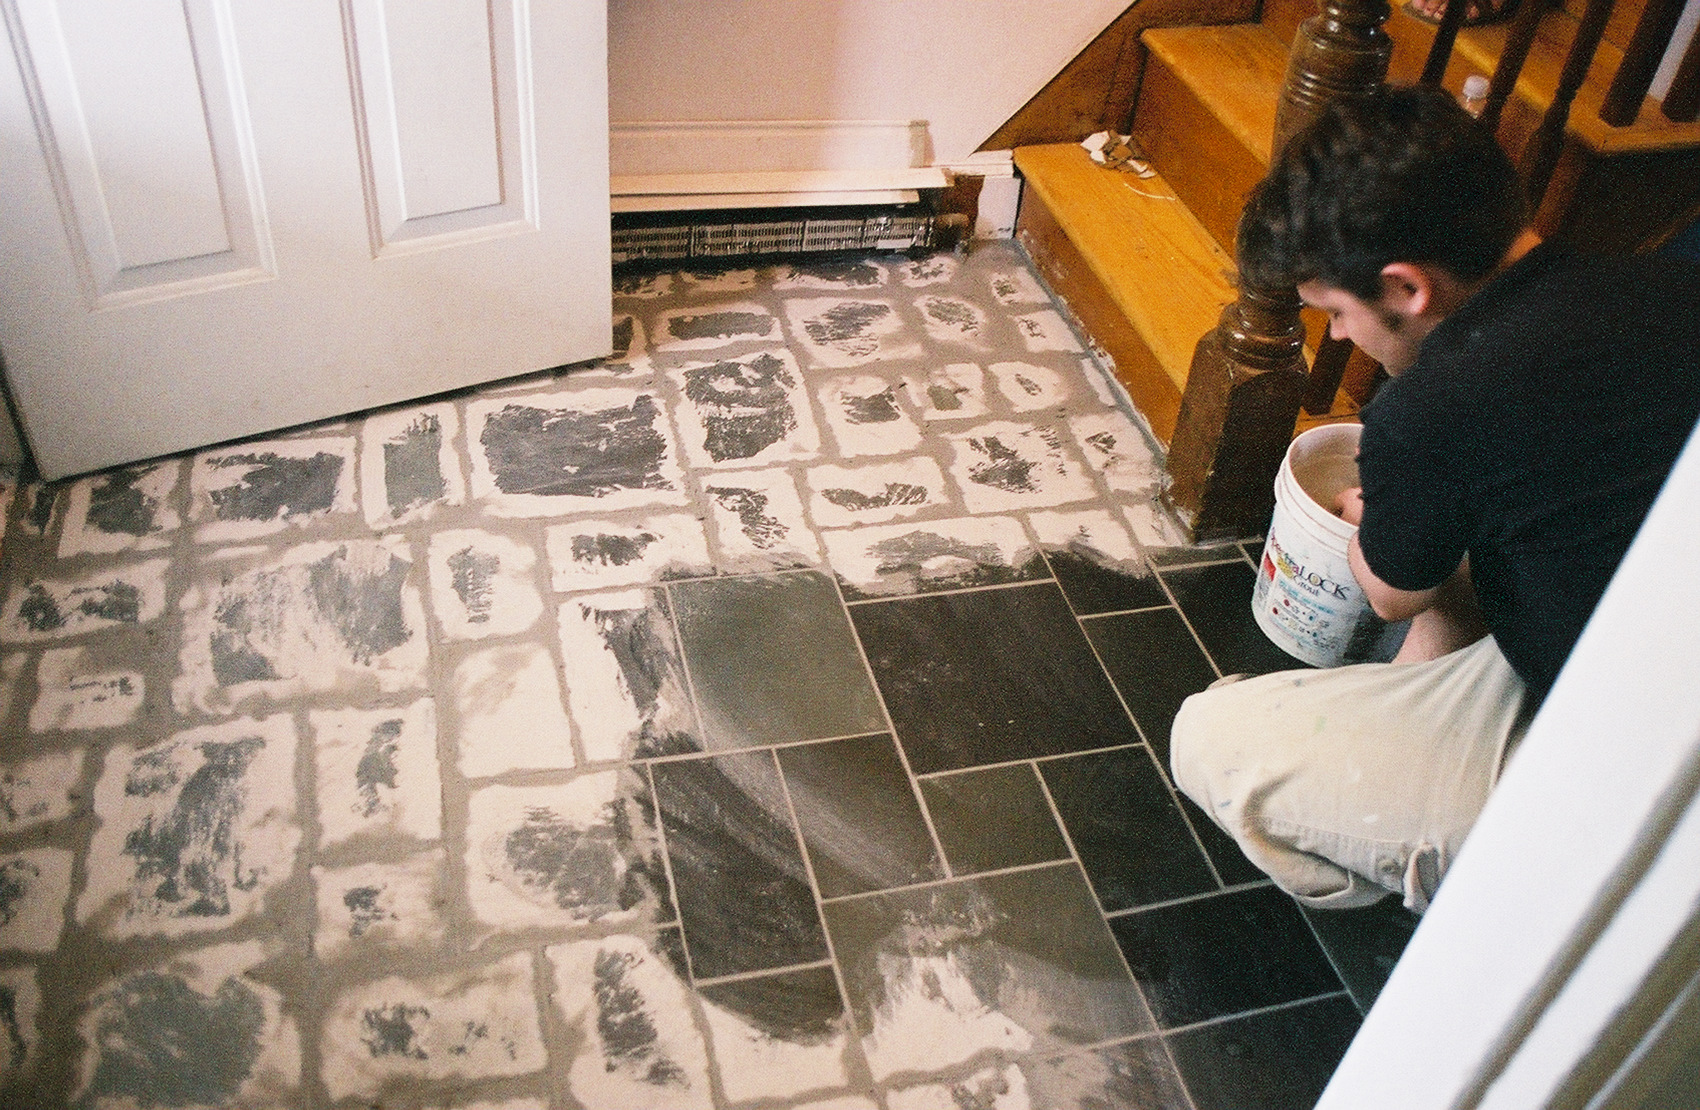
 Once we got going with the tiling, it was pretty fast and furious, so we don't have many pictures of the actual tiling process. Here's the kitchen floor after the 3rd day - Frank and I have just finished up grouting.

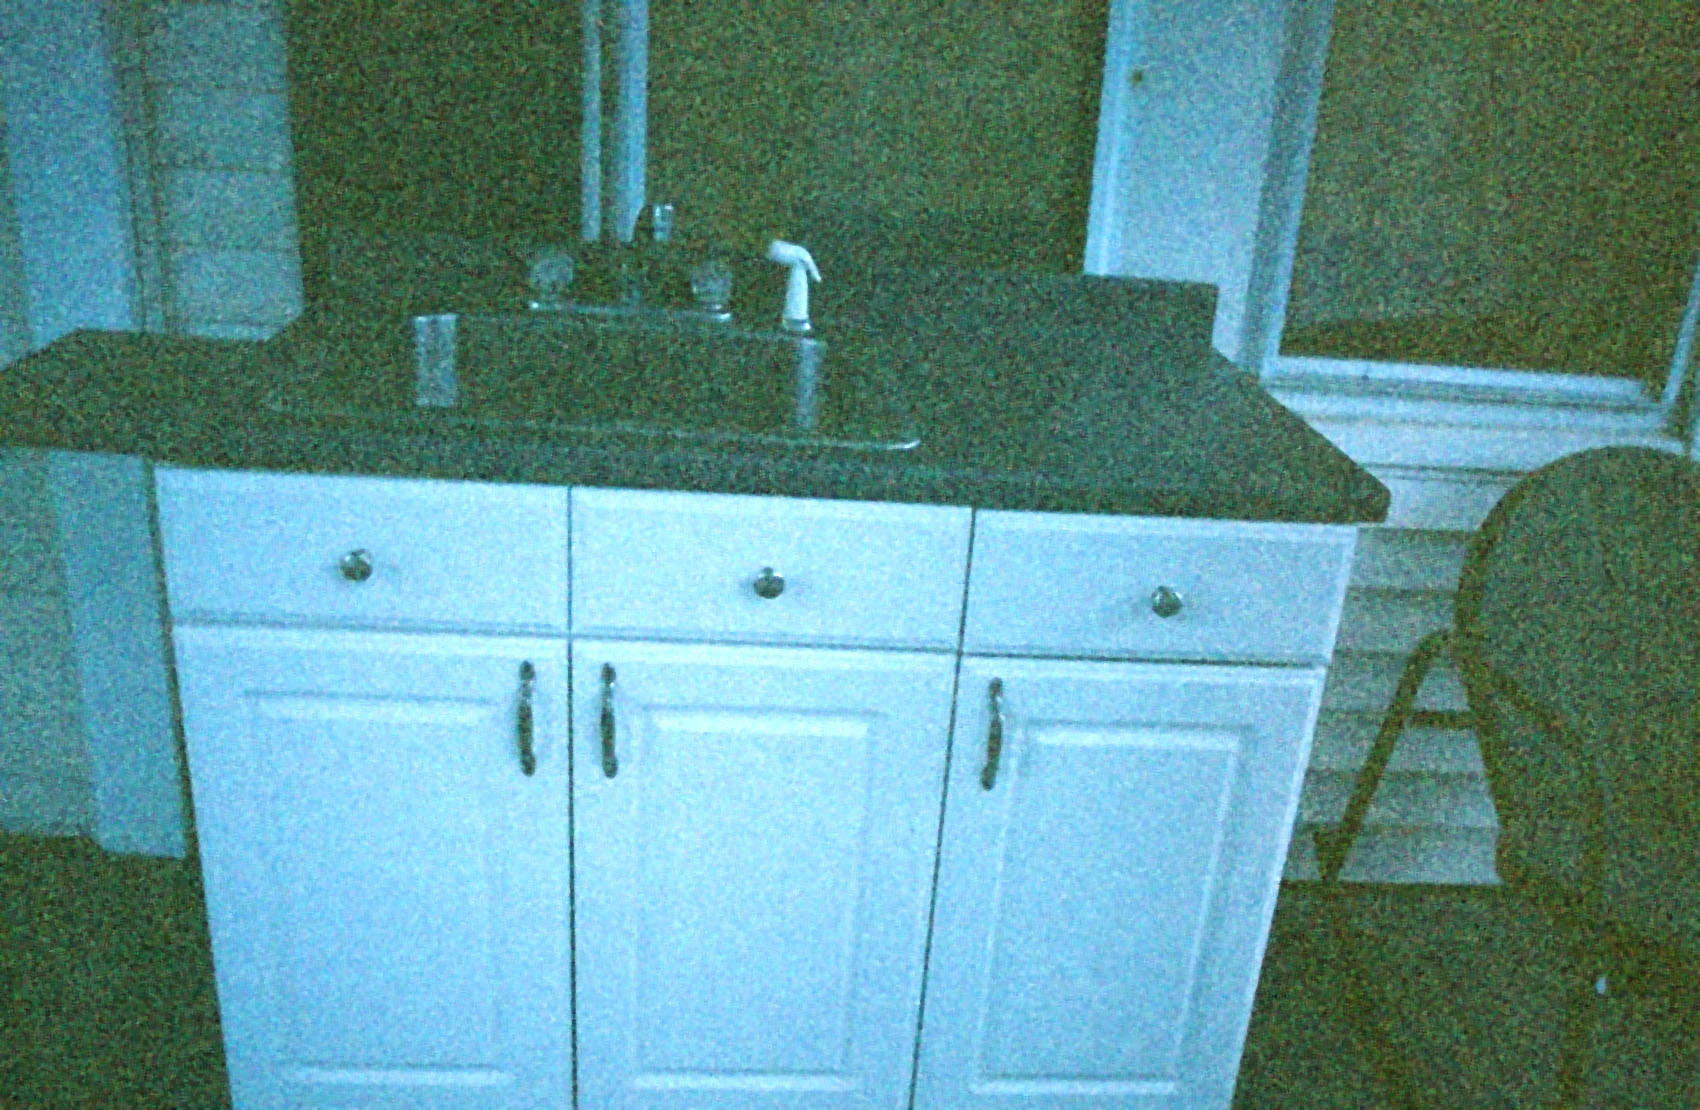
 Once the floor was done, we moved the cabinets back in. They'll eventually be pulled back out again when we replace them all, but that'll be a while, and in the meantime we'd like to be able to eat.

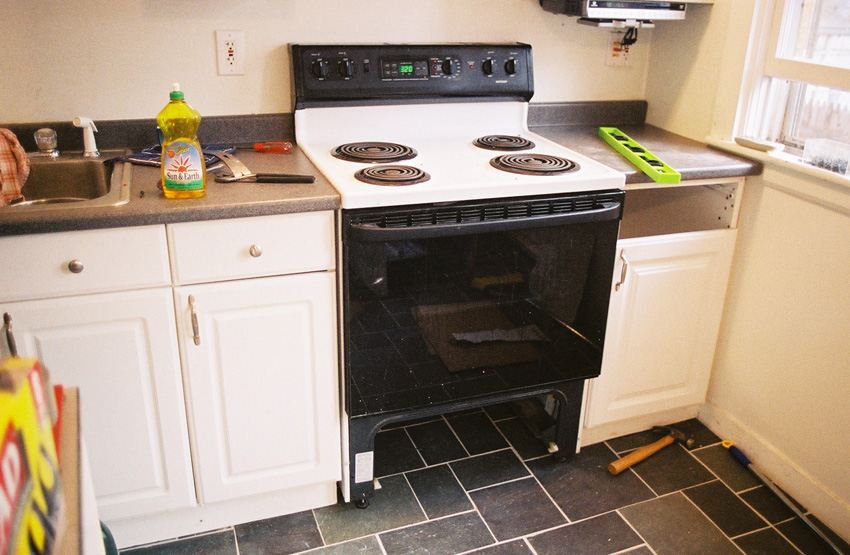
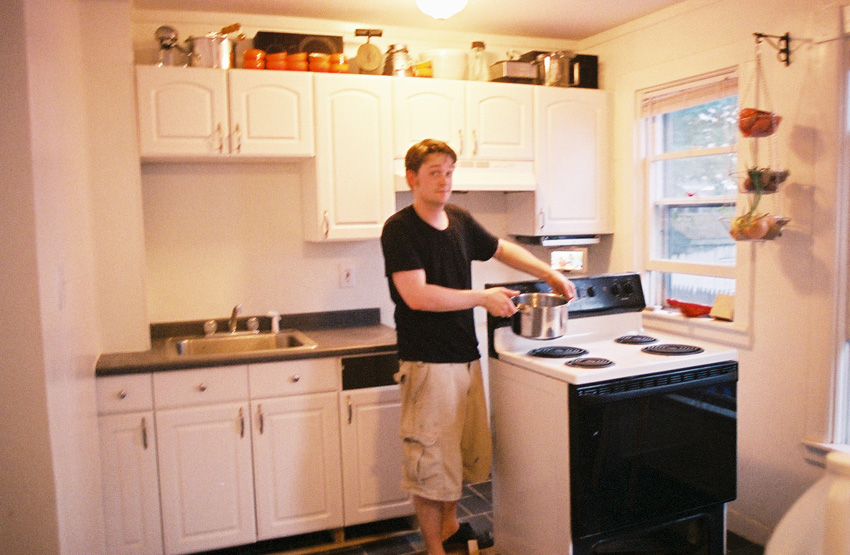 The first meal cooked in the kitchen for several weeks. Even though the stove was still in the middle of the floor.

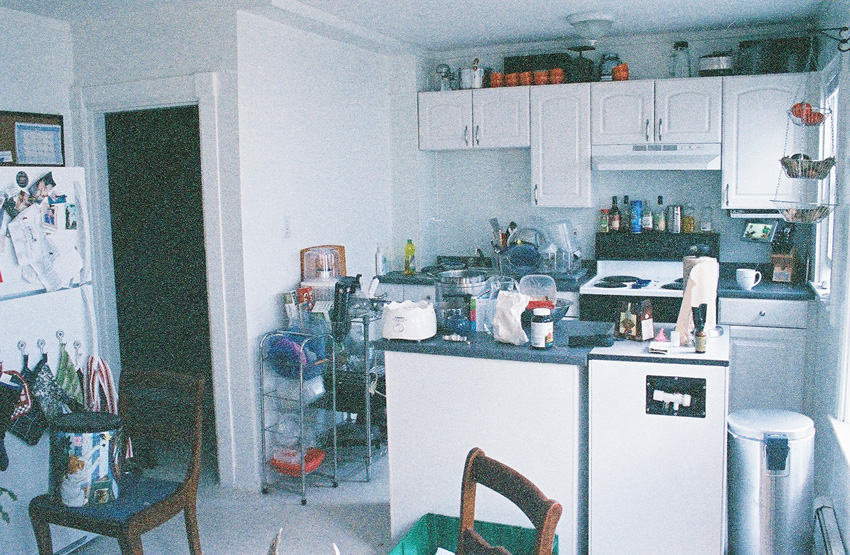
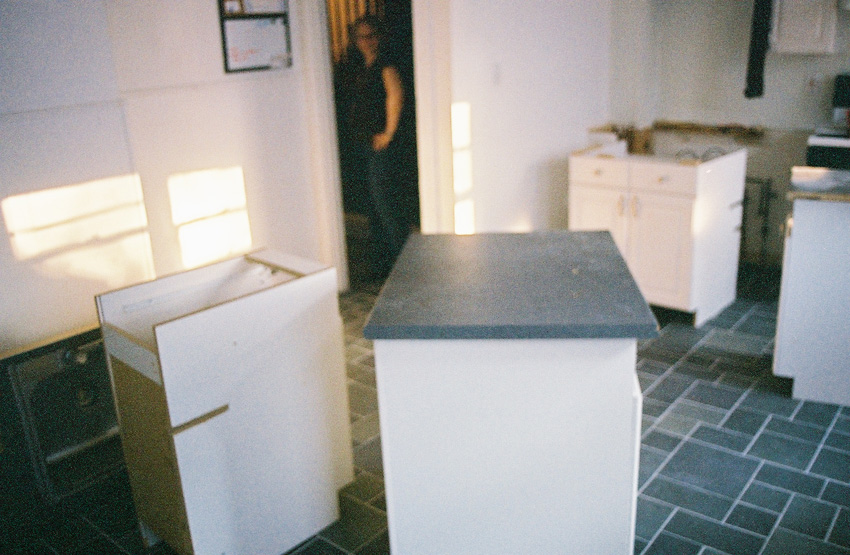
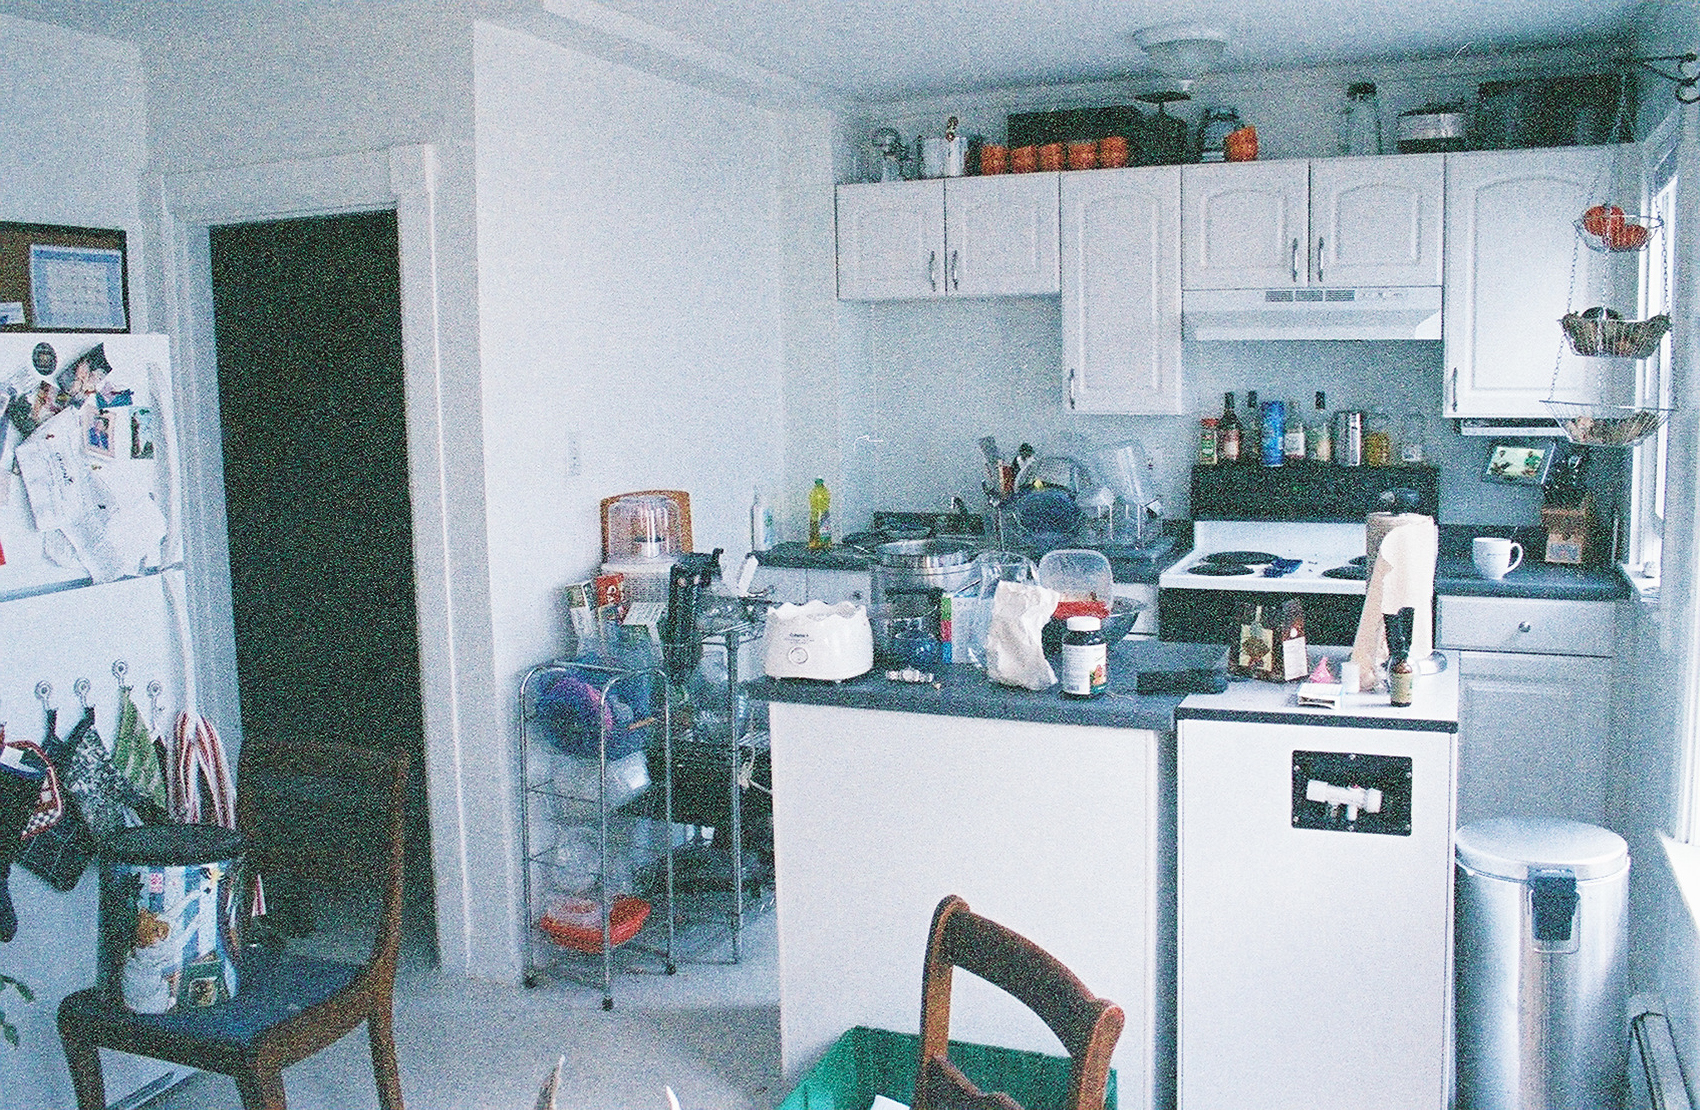
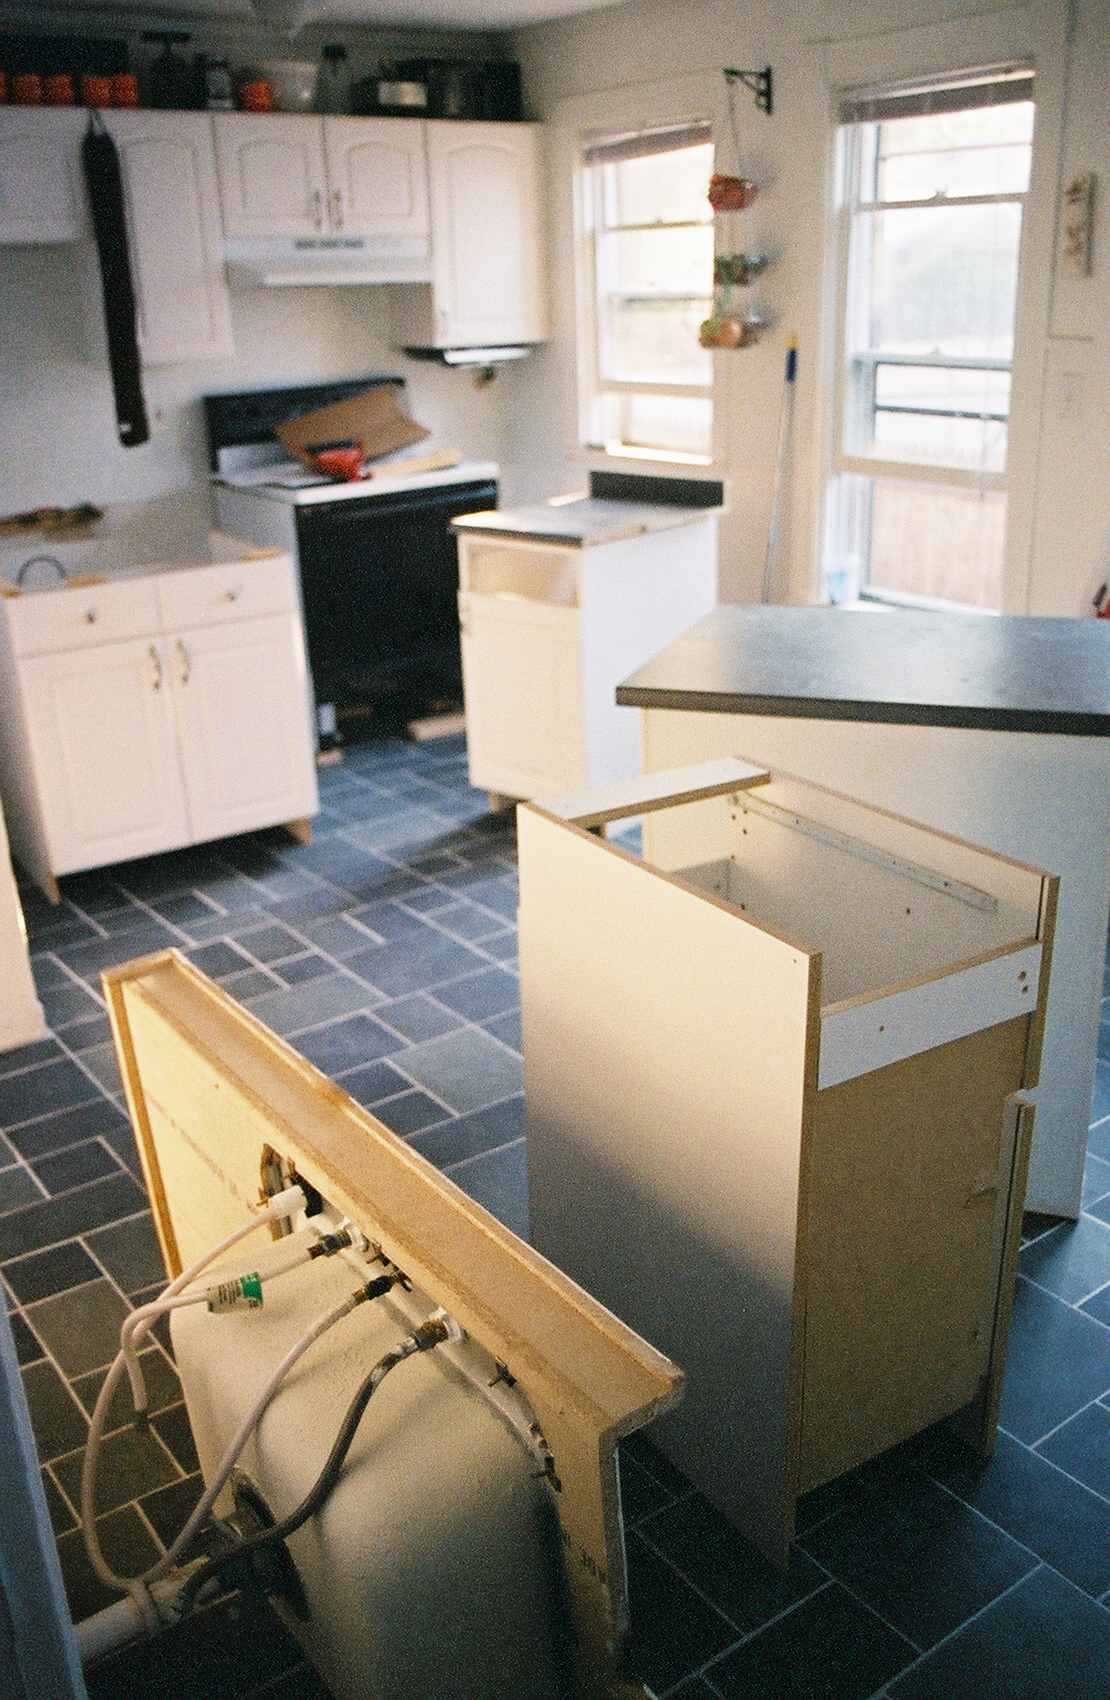
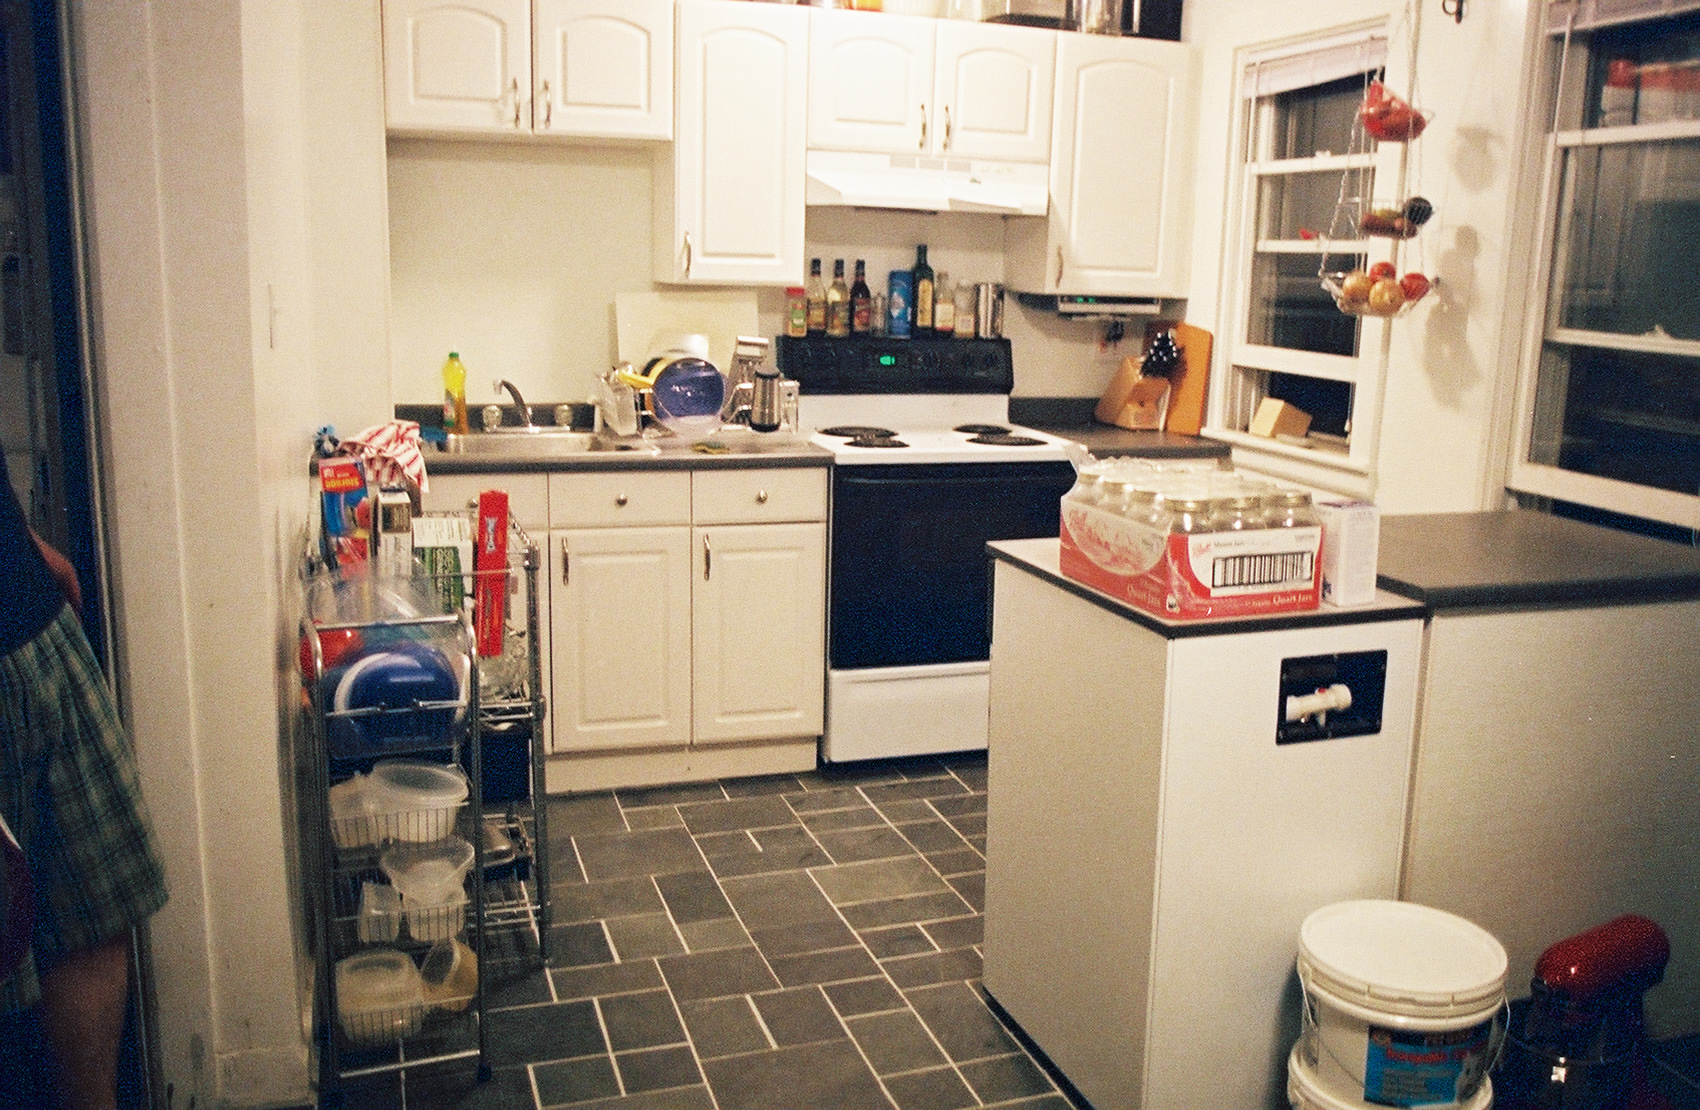
 For the time being, we've rearranged the dishwasher and island into a peninsula configuration. It's a little clunky having the cabinet pushed up against the long window, but the plan is to shorten that window to counter height and then build a peninsula underneath it, so this offers an approximation of what the final layout will be. I figure this way, I'll have a pretty good idea of what it feels like to work in the new kitchen, and if I find it in any way uncomfortable, I can make modifications before starting the cabinets. So far, though, it's a pretty good layout.


